B21, China Town Mall, Midrand


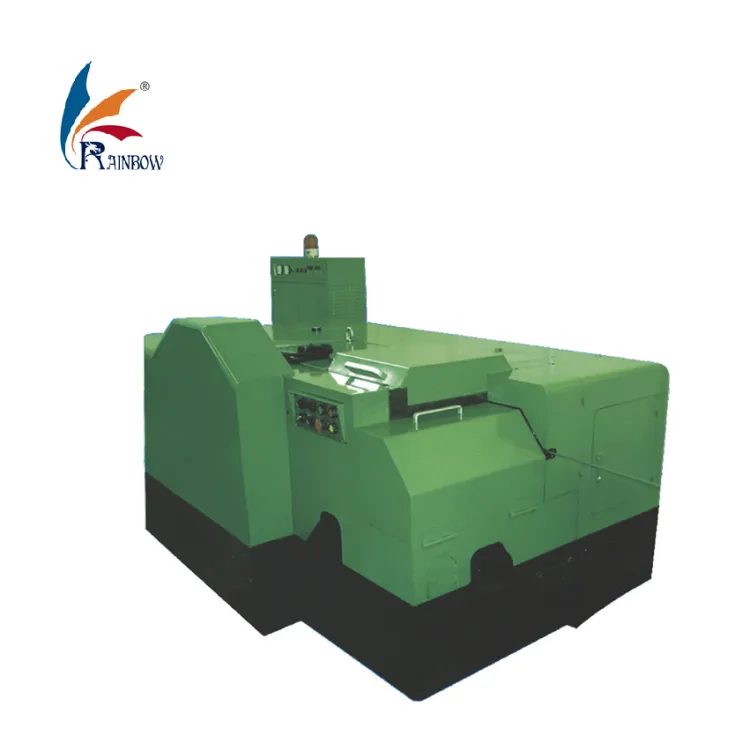
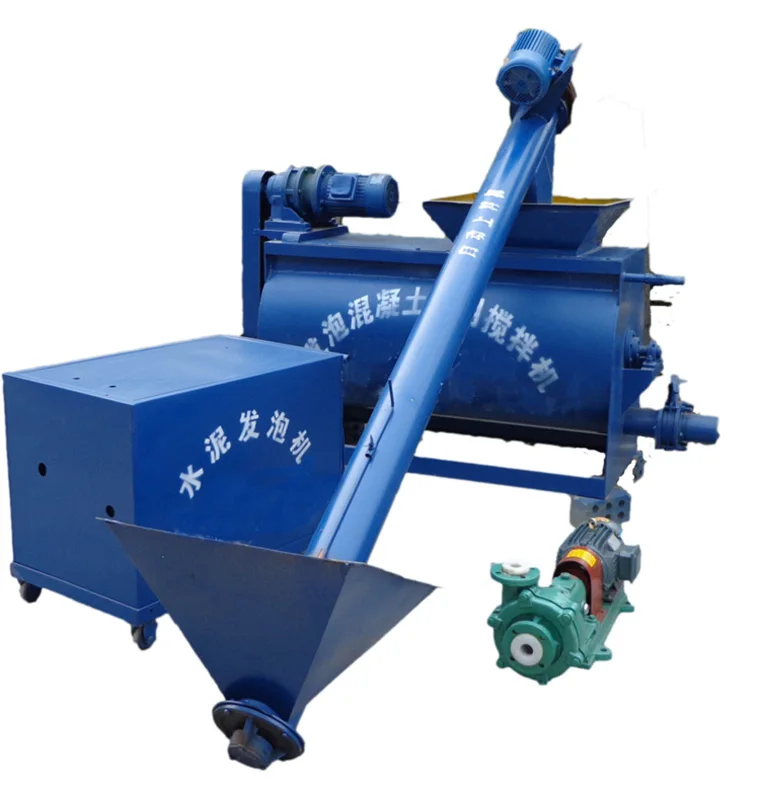
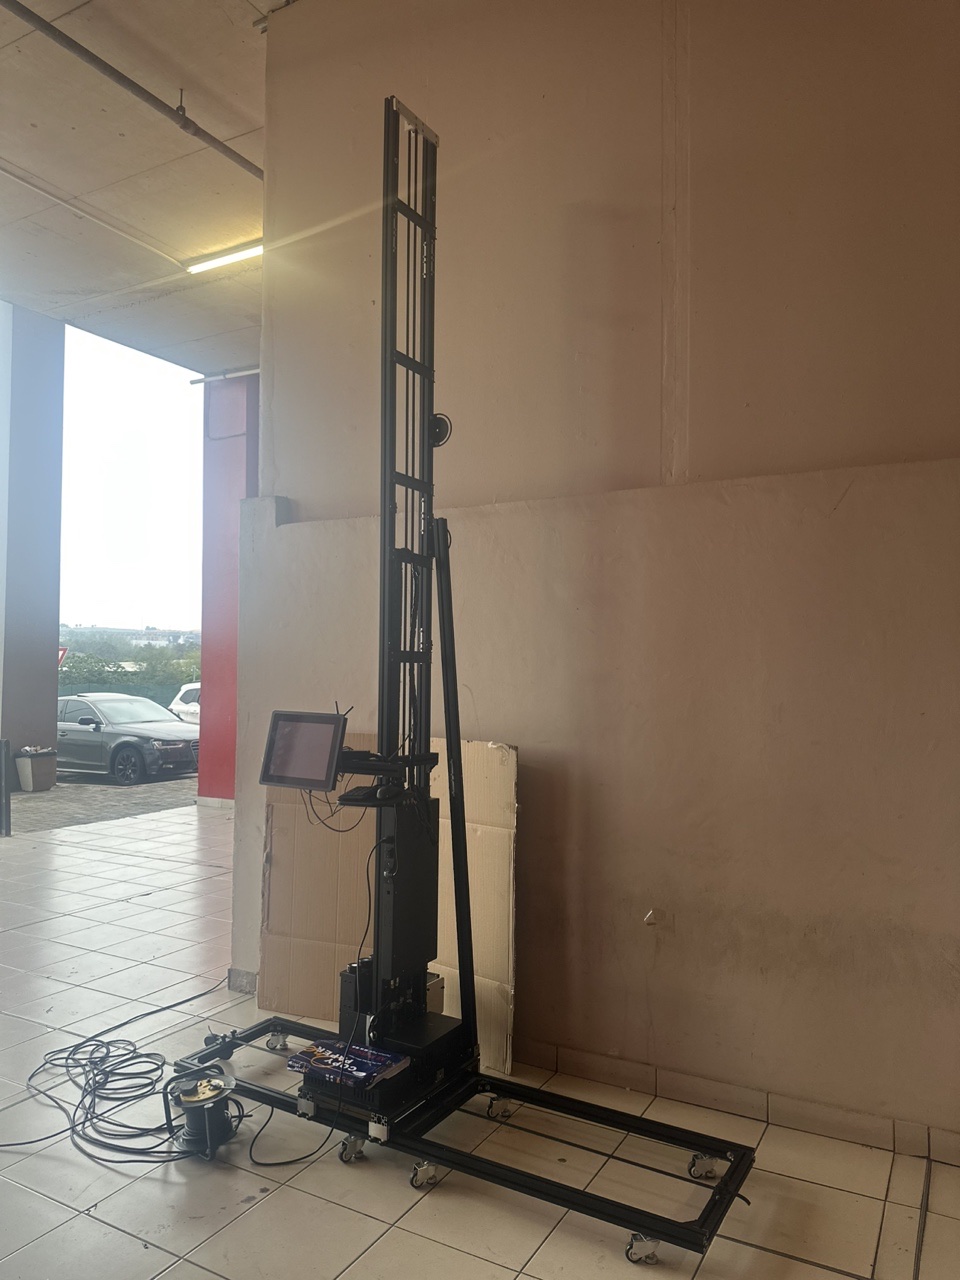
BL-10 Construction Equiment Supplier Concrete Cement Foam Machine
Asset finance available
Do you want funding for this equipment?
Afrimart can connect you with trusted funding partners who specialise in asset finance for businesses like yours. Compare options and apply in minutes — final approval is subject to provider review.
Check funding options
Secure & no obligation

- Section : Machinery
- Category : Brick Making Machinery
- SKU : 60742743438

BL-10 Construction Equiment Supplier Concrete Cement Foam Machine
Introduction

Introduction of BL-10 Construction Equiment Supplier Concrete Cement Foam Machine Foam Generator Machine
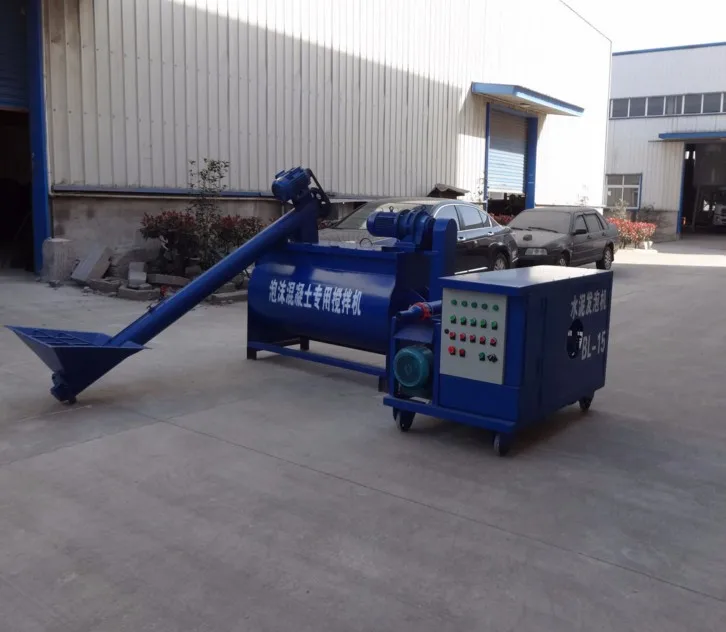
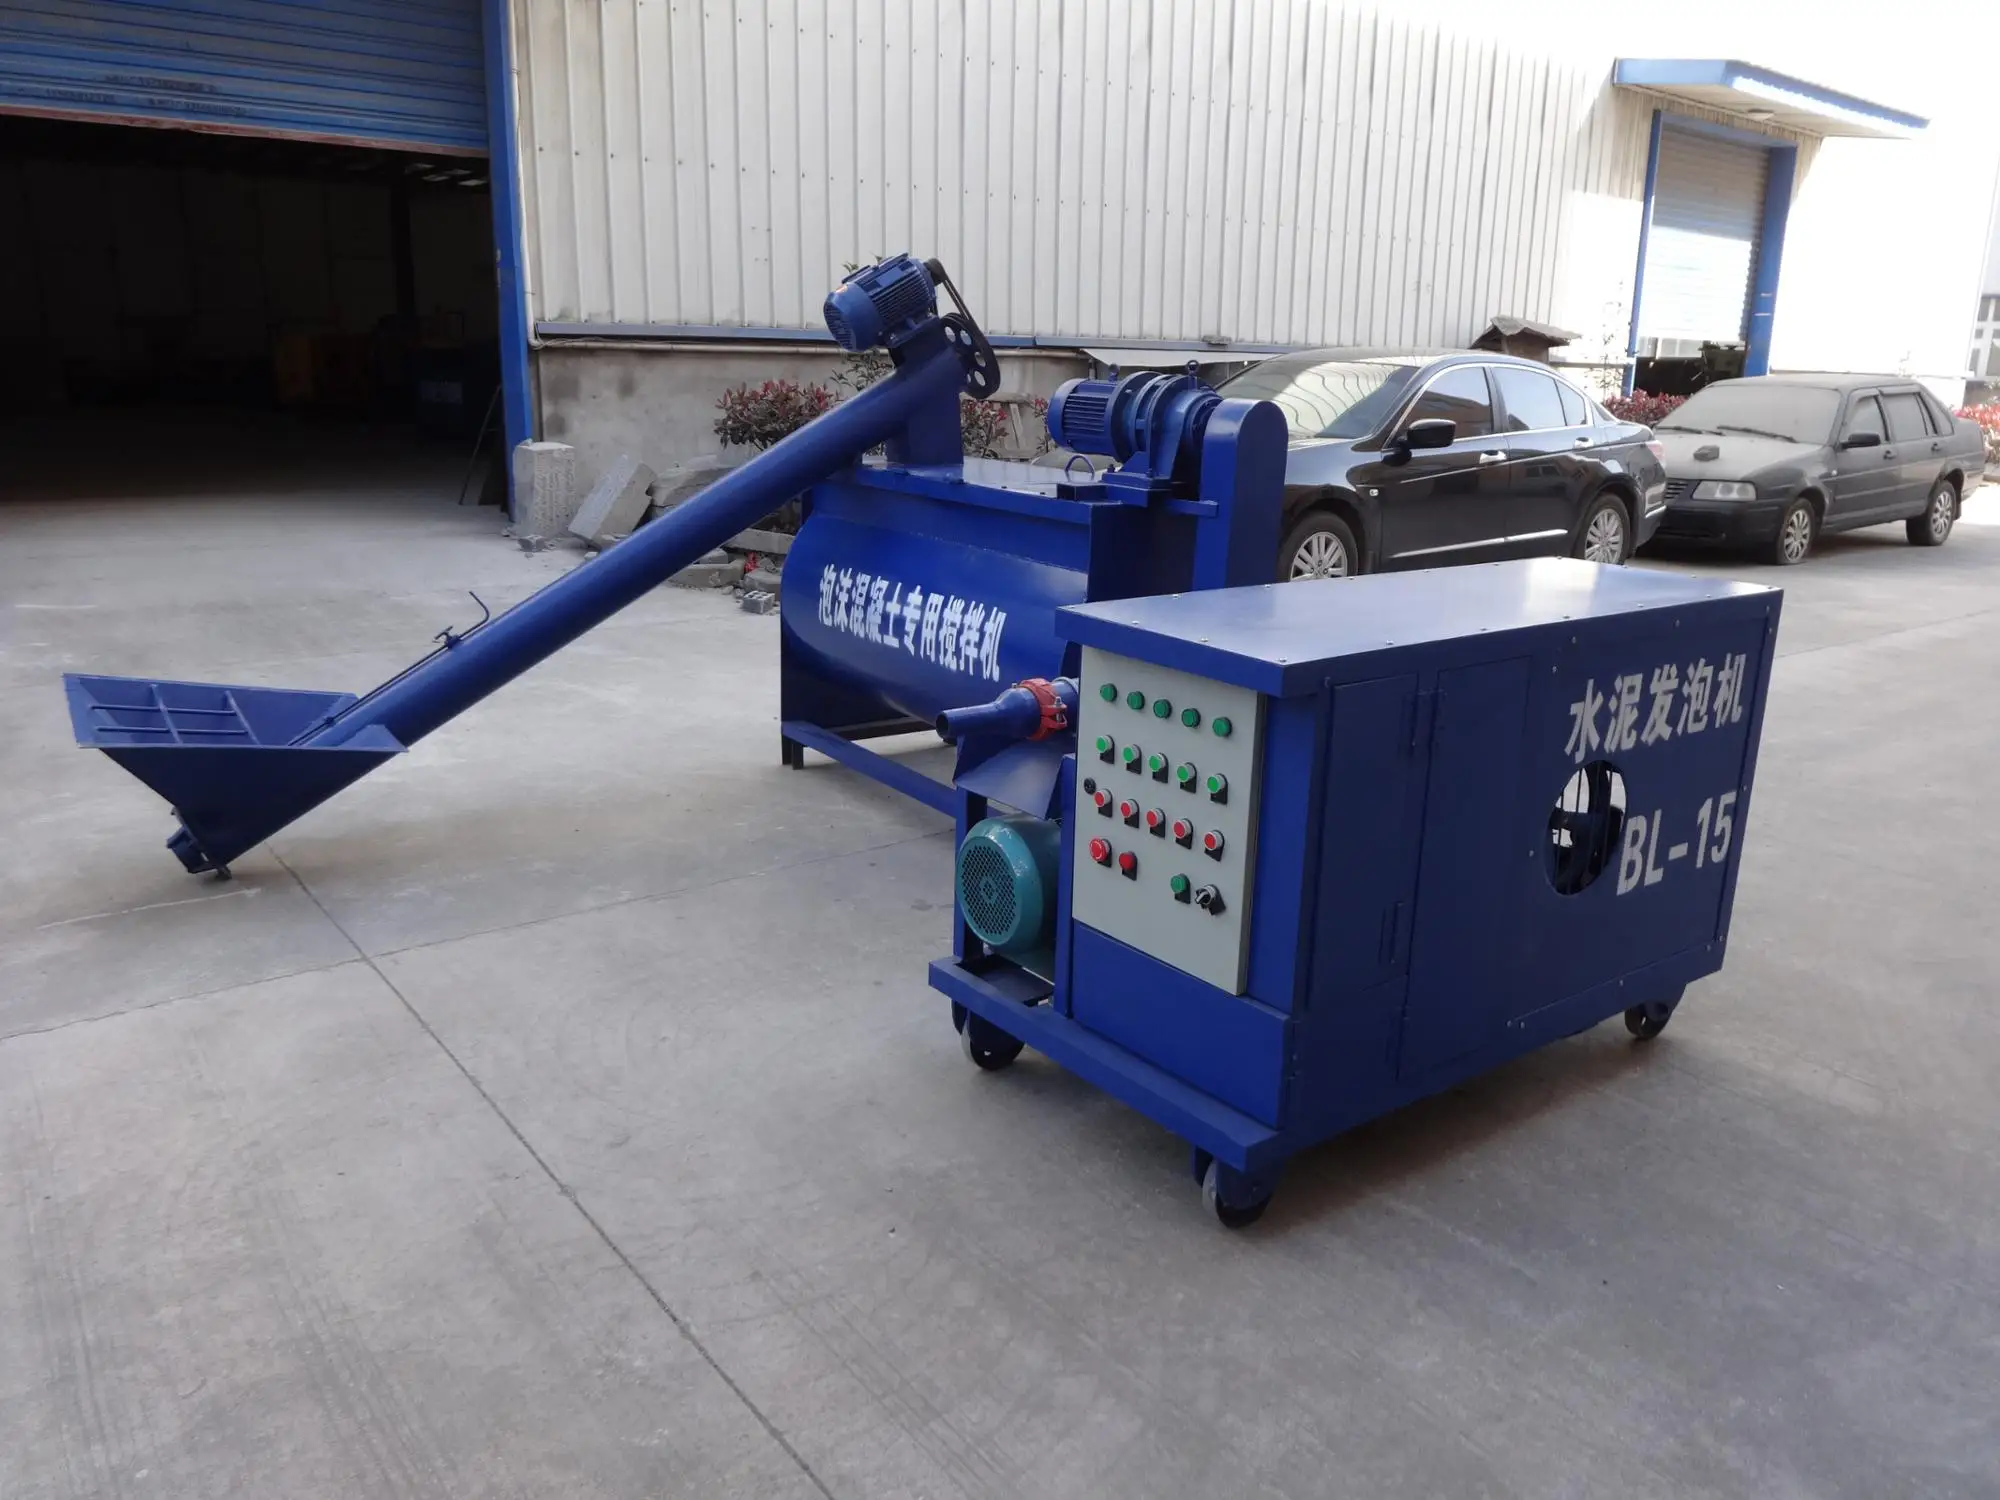
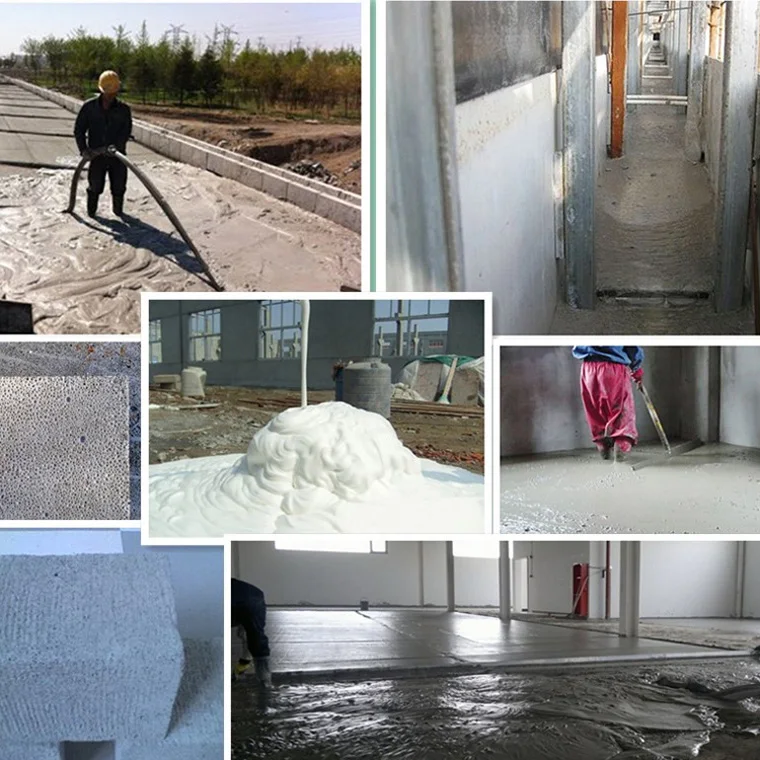
1. Installation: Mount the auger feeder on the feeding inlet of foamed concrete mixer, with the outlet of mixer connected with the inlet of screw mortar pump (ID64 plastic tube, PVC hose, 2-3m in length) and placed a little higher than the pump inlet; connect the mortar pump outlet with a discharge tube (ID50 plastic tube, PVC hose) no more than 100m in length; arrange the cement foaming machine around the mortar pump, with its discharge tube fixed on the feeding tube of foam mixer in the mortar pump; then, connect the equipments to power sources and check carefully for safety. zmwm06
2. Connect a water pipe to the water inlet of foamed concrete mixer for adding water through the inlet and regulating water flow with the inlet valve.
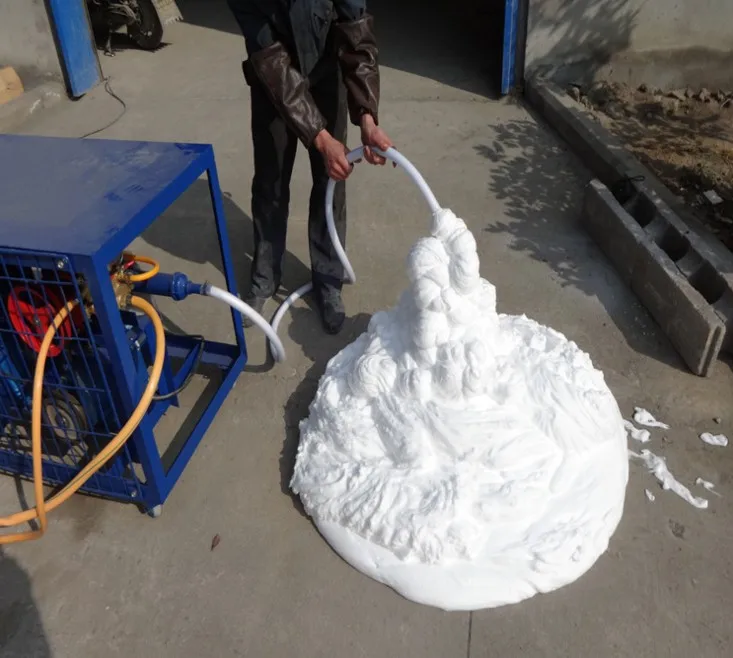
3. Place a big volume plastic drum or plastic cloth pool near the cement foaming machine, prepare the foaming solution in a proportion of 1kg foaming agent to 40kg water and mix evenly; then, immerse the liquid inlet pipe and return pipe of the foaming machine (two yellow pipes) in the foaming solution.
4. Add water in the mixer and start up the equipment to check whether the machines run normally, the mortar pump draws water normally, the foaming machine foams normally, the feeder, mixer and foaming machine rotate reversely, and the direction of rotation is correct, or the equipment should be put out of service
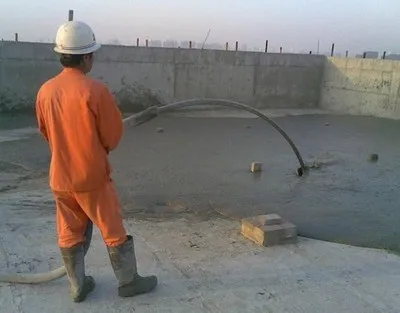
5. Normal production can be started if the equipments are proved to be under normal conditions. Turn on the power of mixer and start it up, open the inlet value for adding water, then energize the auger feeder for loading (do not load any material before the mixer is started up, but the machine should be started and water be added before loading, so as to avoid motor burnout); add cement and other necessary materials in the hopper of feeder, adjust the damper at the hopper opening to control material flow; turn on the foaming machine after mortar is mixed evenly; open the outlet valve of mixer and switch on the screw mortar pump after foaming becomes normal for construction of thermal insulation of the roof or cast-in-place wall by pumping.
Parameter

Parameter of BL-10 Construction Equiment Supplier Concrete Cement Foam Machine Foam Generator Machine
| Item | Product Name | Describe |
| 1 | Foam Generator | Size:1000*600*780mm
Weigh:150kg Pressure :0.8aps Max.foaming capacity:30m3/H Power:380V/50HZ /3KW
|
| 2 | Mixer | Size:2300*700*1300mm
Weight:280kg Capacity:0.8m3 Power:380V/50HZ/3KW Speed :≤50r/min
|
| 3 | Mortar pump | Size:1500*300*400mm
Weight:110kg Pressure :0.6aps Max. Transportation capacity:8-10m3/h Power:380V/50HZ/3KW
|
| 4 | Feeder | Size:2700*600*600mm
Weight:120kg Power:380V/50HZ/3KW |
Company Strength
- Shipping Timeframes: All orders are processed within 2-5 business days (excluding weekends and holidays). After your order has been processed, the estimated delivery time is before 15 Sep, 2026, depending on customs, Please note that due to high demand, some items may experience longer shipping times, which will be communicated at order confirmation email.
- Order Processing Time: Please allow 2-5 business days for us to process your order before it is shipped . Orders placed after 16:00 on Fridays, or during weekends and public holidays, will begin processing on the next business day. Processing times may be extended during peak seasons or sales events.
- Manufacturing Time: Some products needs manufacturing time, the manufacturing process will take approximately 10-30 business days depending on the product. This timeframe may vary depending on the complexity of the product and current demand. but this will be communicated with you during order confirmation.
- Returns and Exchanges: We offer a 30-day return policy for most items. If you are not completely satisfied with your purchase, you may return it within 30 days of receipt for a refund or exchange. Items must be unused, in their original packaging, and accompanied by proof of purchase. Return shipping costs are the responsibility of the customer, unless the item was damaged or defective upon arrival.
1. What components are included in the BL-10 Construction Equipment Supplier Concrete Cement Foam Machine set?
The BL-10 set includes a Foam Generator (1000×600×780mm, 150kg, pressure 0.8aps, max foaming capacity 30m3/h, 380V/50Hz/3KW), a Mixer (2300×700×1300mm, 280kg, capacity 0.8m3, 380V/50Hz/3KW, speed ≤50 r/min), a Mortar Pump (1500×300×400mm, 110kg, pressure 0.6aps, transport 8–10m3/h, 380V/50Hz/3KW) and an Auger Feeder (2700×600×600mm, 120kg, 380V/50Hz/3KW).
2. What are the electrical requirements for the BL-10 system?
Each main unit (foam generator, mixer, mortar pump, feeder) is rated for 380V, 50Hz three-phase power, with each motor listed as 3KW. Confirm your site electrical supply and proper three-phase connections before installation.
3. What is the recommended installation sequence and basic connections?
Mount the auger feeder on the mixer feed inlet. Connect the mixer outlet to the screw mortar pump inlet using an ID64 plastic tube/PVC hose (2–3m) and position the mixer slightly higher than the pump inlet. Connect the mortar pump outlet to a discharge tube (ID50 hose) no longer than 100m. Position the foam generator near the mortar pump and connect its discharge tube to the mixer feed for foaming. Connect water to the mixer's water inlet and ensure all equipment is safely grounded and powered.
4. How should I prepare the foaming solution and connect it to the foam machine?
Prepare the foaming solution by mixing 1 kg of foaming agent with 40 kg of water (1:40). Mix evenly in a large plastic drum or cloth pool. Immerse both the foam machine's liquid inlet pipe and the return pipe (the two yellow pipes) into the prepared solution.
5. What is the correct start-up and production sequence to avoid equipment damage?
Start the mixer and add water first (do not load dry material before mixer is running). Then start the auger feeder for loading, add cement and other materials, and adjust the feeder damper to control flow. After mortar is mixed evenly, turn on the foam machine. When foaming is normal, open the mixer's outlet valve and start the screw mortar pump to begin pumping.
6. What capacities and performance figures should I expect from each unit?
Foam generator: max foaming capacity 30 m3/h (pressure 0.8aps). Mixer: capacity 0.8 m3, speed ≤50 r/min. Mortar pump: transport capacity 8–10 m3/h (pressure 0.6aps). Feeder: size and motor specs given; material throughput depends on settings and material properties.
7. Are there limits on discharge hose length?
Yes. The mortar pump discharge hose (ID50 plastic tube/PVC hose) should be no longer than 100 meters as recommended in the installation instructions.
8. What materials can be used with the BL-10 system?
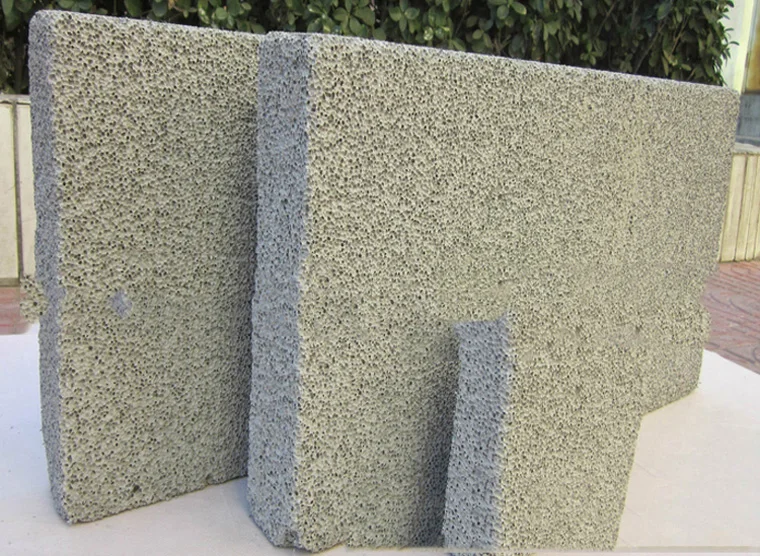
The system is intended for producing foamed cement/concrete mixes for applications such as thermal insulation of roofs and cast-in-place walls. Use cement and the required additives/mix ingredients appropriate for foamed concrete formulations.
9. How can I adjust foam density and quality?
Foam density/quality is controlled by the foaming solution concentration, the foam generator settings, and the water flow into the mixer. Use the recommended 1:40 foaming agent-to-water mix as a starting point, and fine-tune water inlet flow (inlet valve) and foam generator parameters until the desired foam performance is achieved.
10. What routine maintenance should be performed?
Daily: flush mixer, foam lines and pump with clean water after use to remove residues; inspect hoses, seals and connections for wear or leaks; check rotation direction of motors. Periodically: lubricate bearings and moving parts per manufacturer guidance, replace worn hoses/seals, and verify electrical connections and grounding.
11. What common problems might occur and how do I troubleshoot them?
Common issues: poor foaming — check foaming solution concentration, ensure inlet/return pipes are immersed, verify foam machine operation; pump not sucking — check mixer water level, hose connections, and that mixer is placed slightly higher than pump inlet; motor overload — ensure correct start-up sequence (mixer and water first) and that motors are not blocked. Also confirm correct rotation direction of feeder/mixer/foam machine.
12. What safety precautions should I follow during installation and operation?
Ensure all equipment is properly grounded and connected to the correct three-phase supply. Confirm all guards are in place, wear appropriate PPE, do not overload units, keep personnel clear of moving parts, secure long hoses to prevent whipping, and follow lockout/tagout procedures for maintenance. Verify electrical safety and local compliance before use.
13. How should I clean the foam machine and foam lines after use?
Flush the foam generator inlet and return lines with clean water until no foam/agent residue remains. Remove and clean any filters or strainers. Ensure the foaming agent is fully rinsed from the two yellow pipes and that no build-up remains in the foam discharge line or mixer.
14. Who do I contact for spare parts, technical support or warranty information?
Contact your BL-10 equipment supplier or the company's after-sales service for spare parts, maintenance guides, technical support and warranty details. Provide the unit model and serial numbers when requesting support.
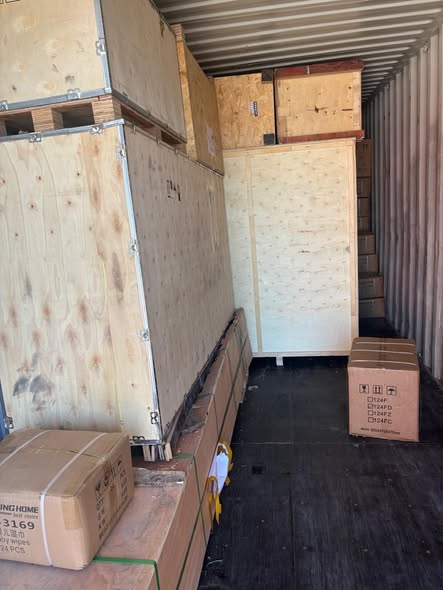
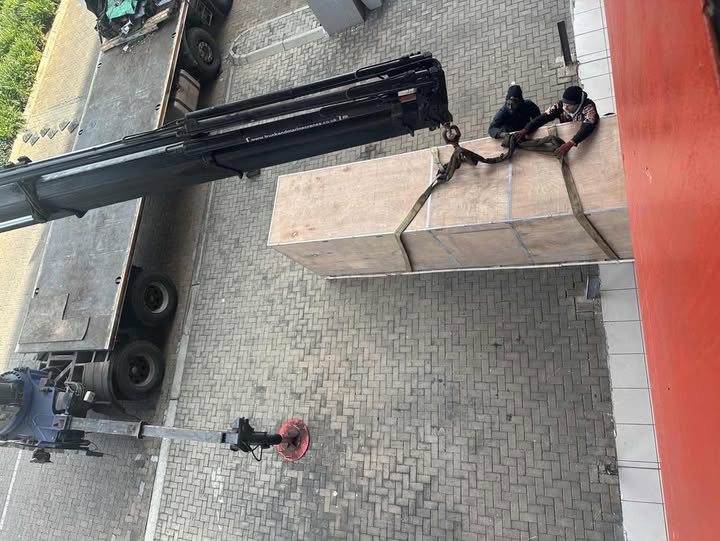
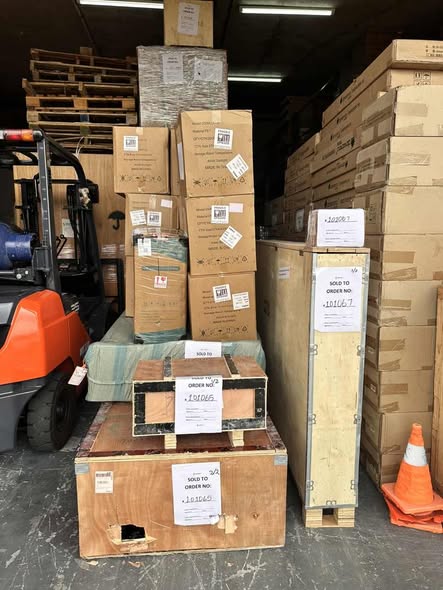
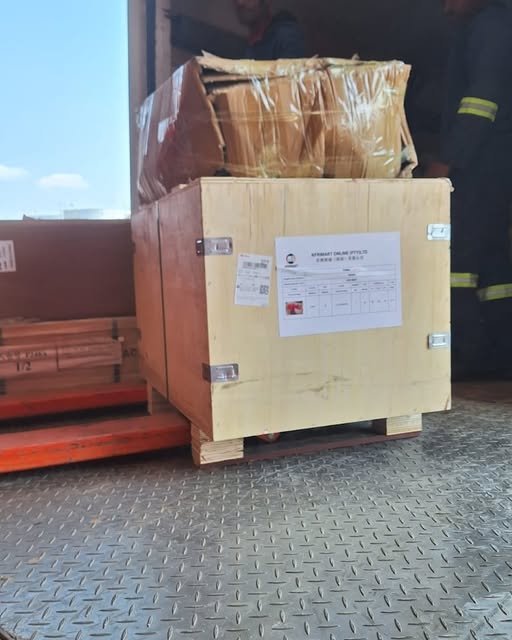
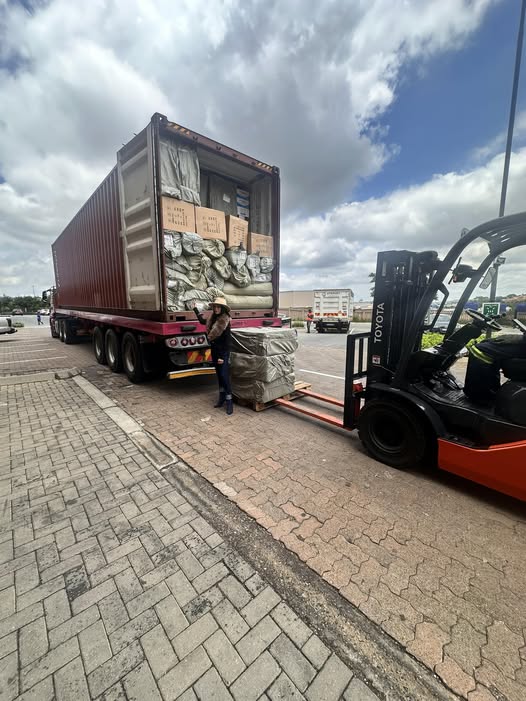
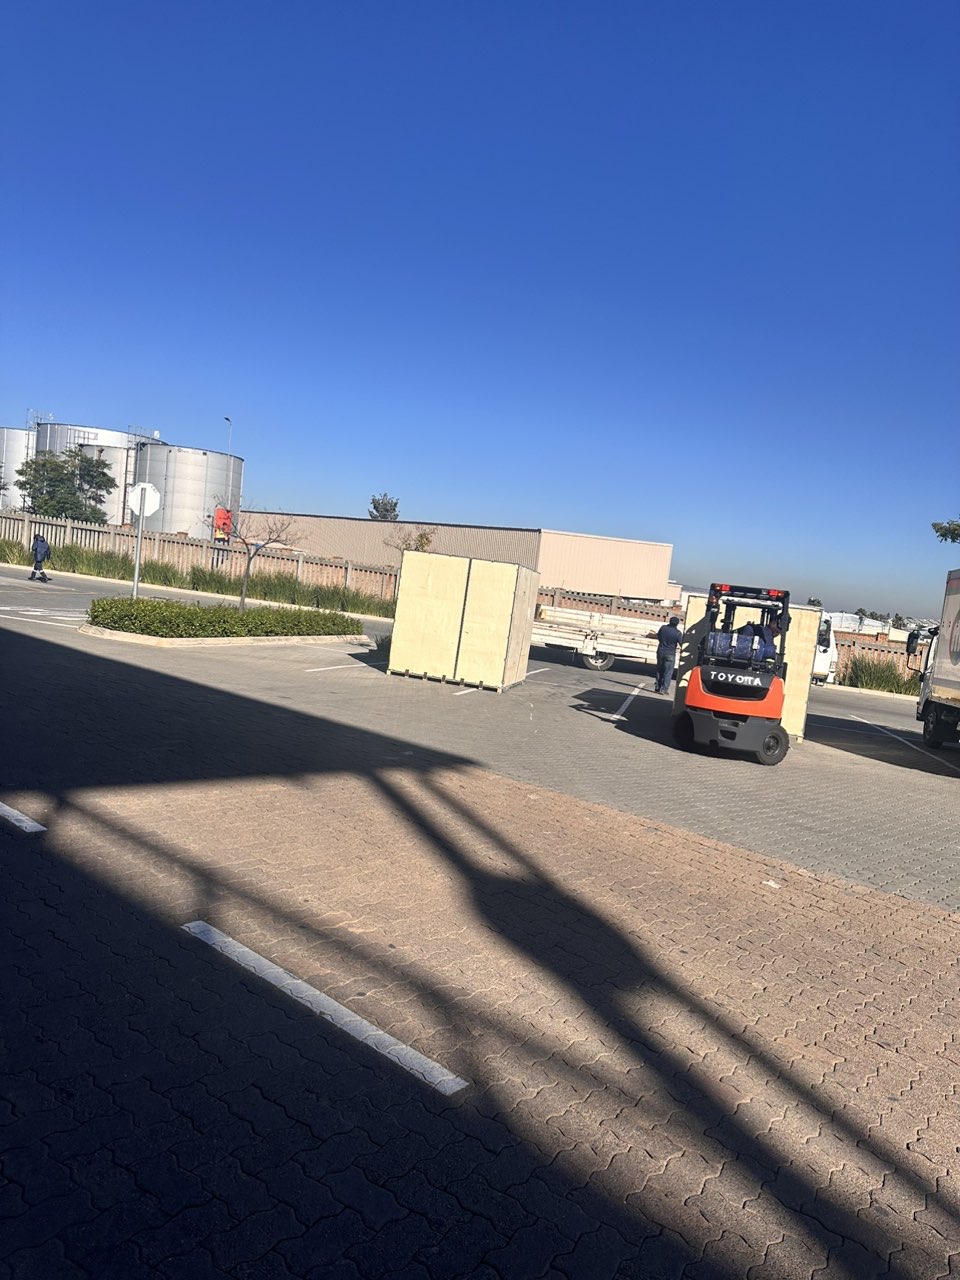
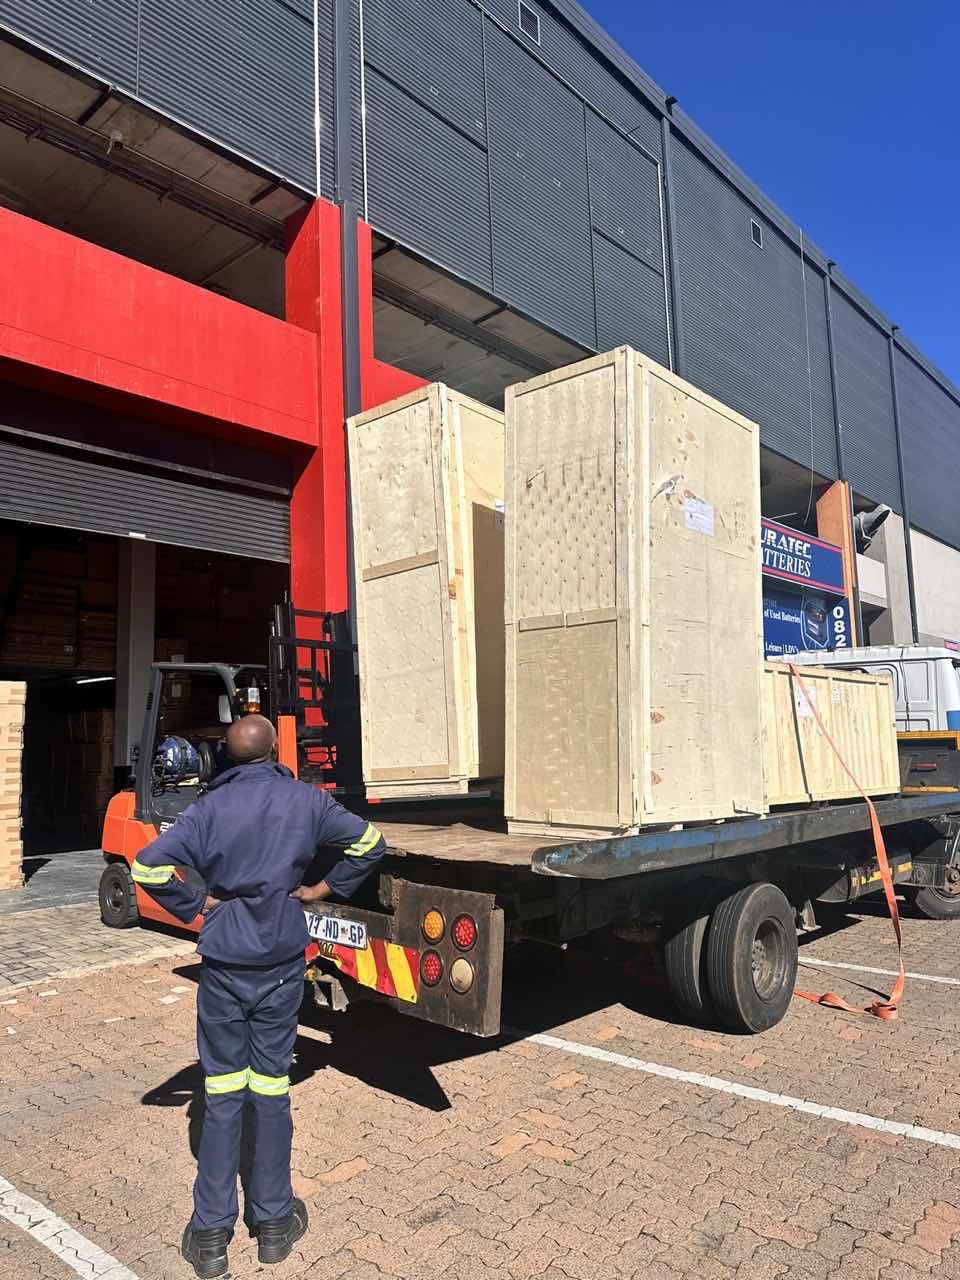
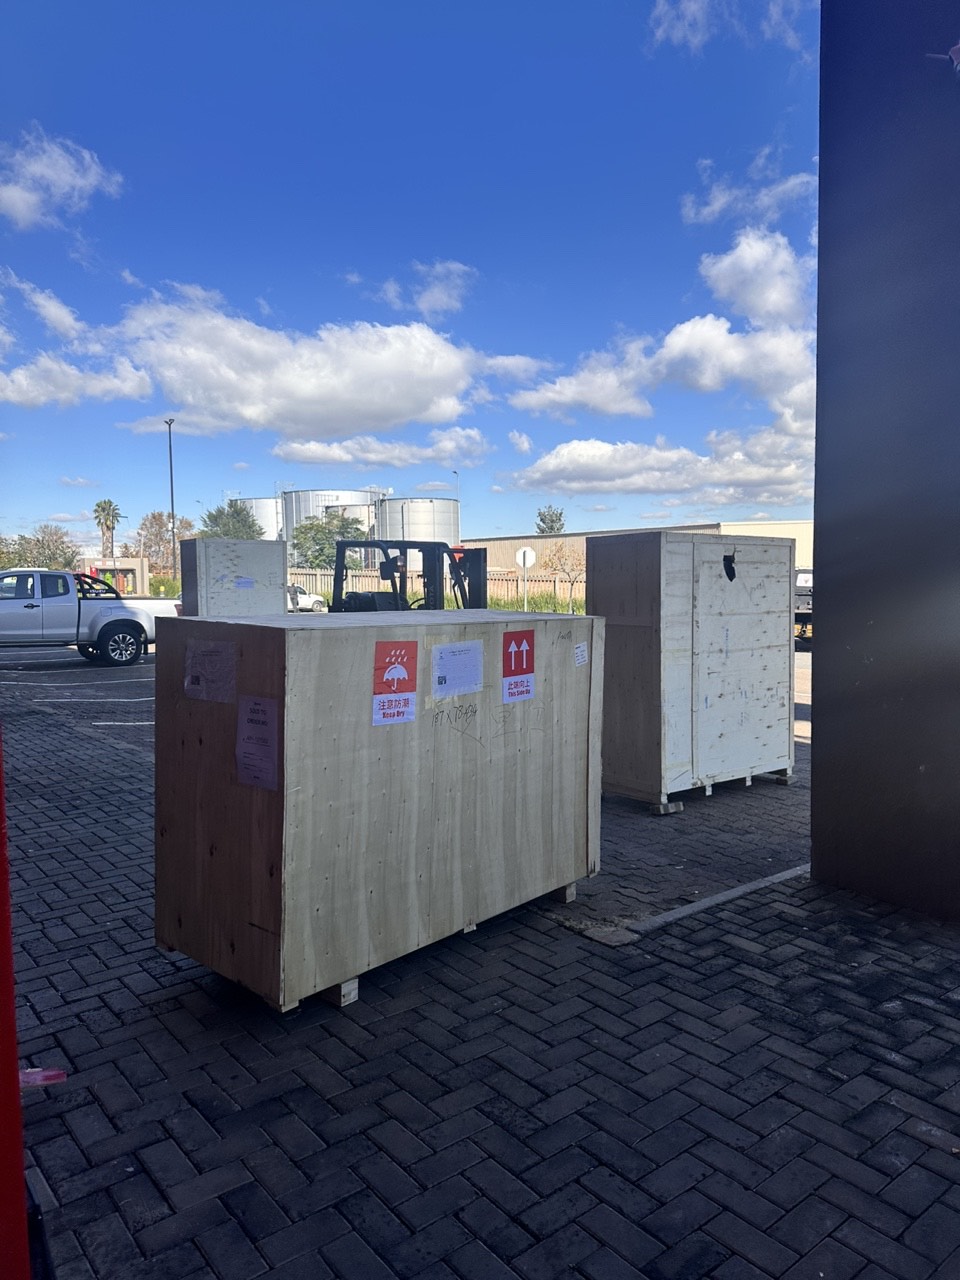
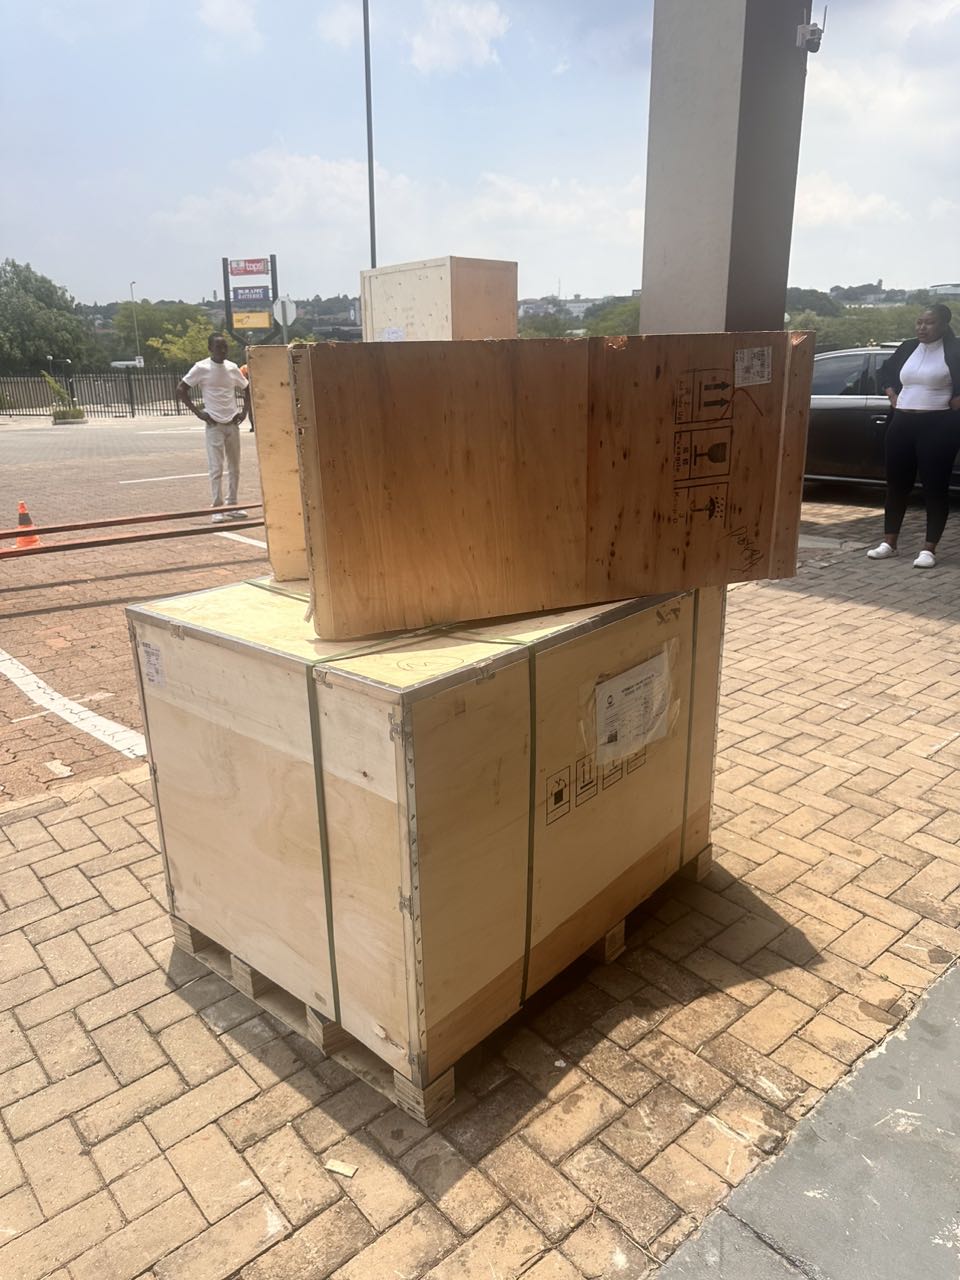
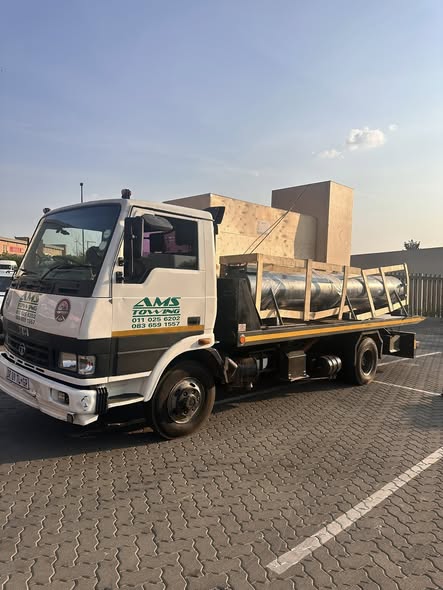
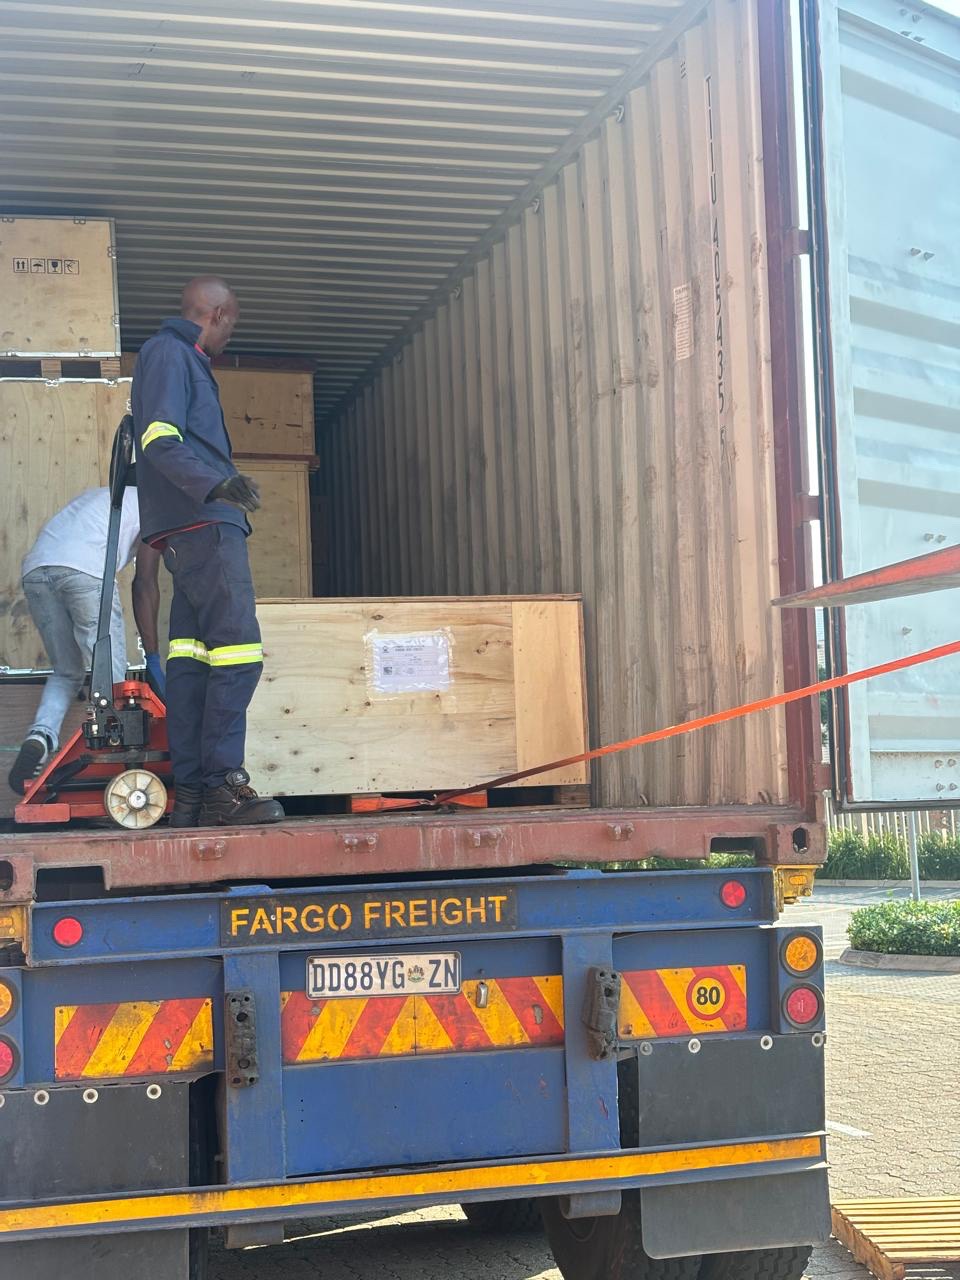
Latest Order Arrivals
Discover our latest orders
12 Heads Embroidery Machine
Toilet Paper Machine Machine

Order Collection
Cross Border Clients
Order cros border countries Collected
Industrial Machine Cllection
Agriculture Processing Machines

Ready for collection

Water Pump Equipment
Packaging Machine and accessories
Fabrics Manufacturing Equipment
Mining Equipments
Food Processing Machine
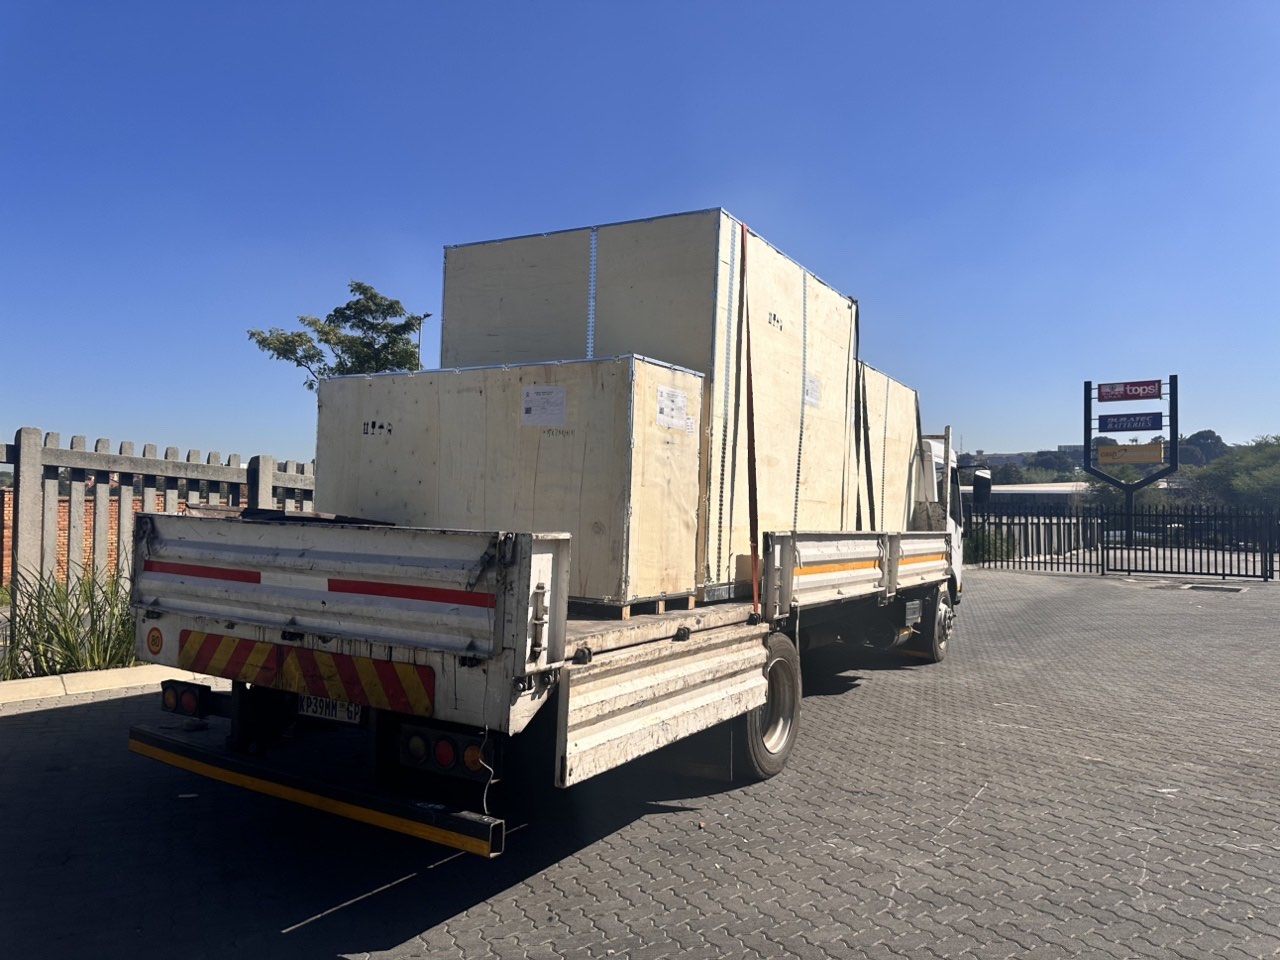
Batch of Orders
Batch of Orders

Latest Orders Labelled
wheel alignment machines
new arrivals

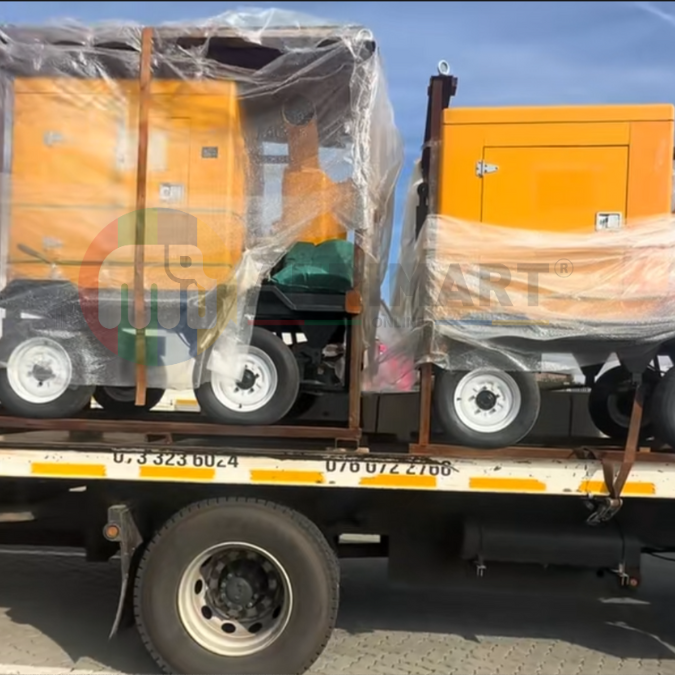
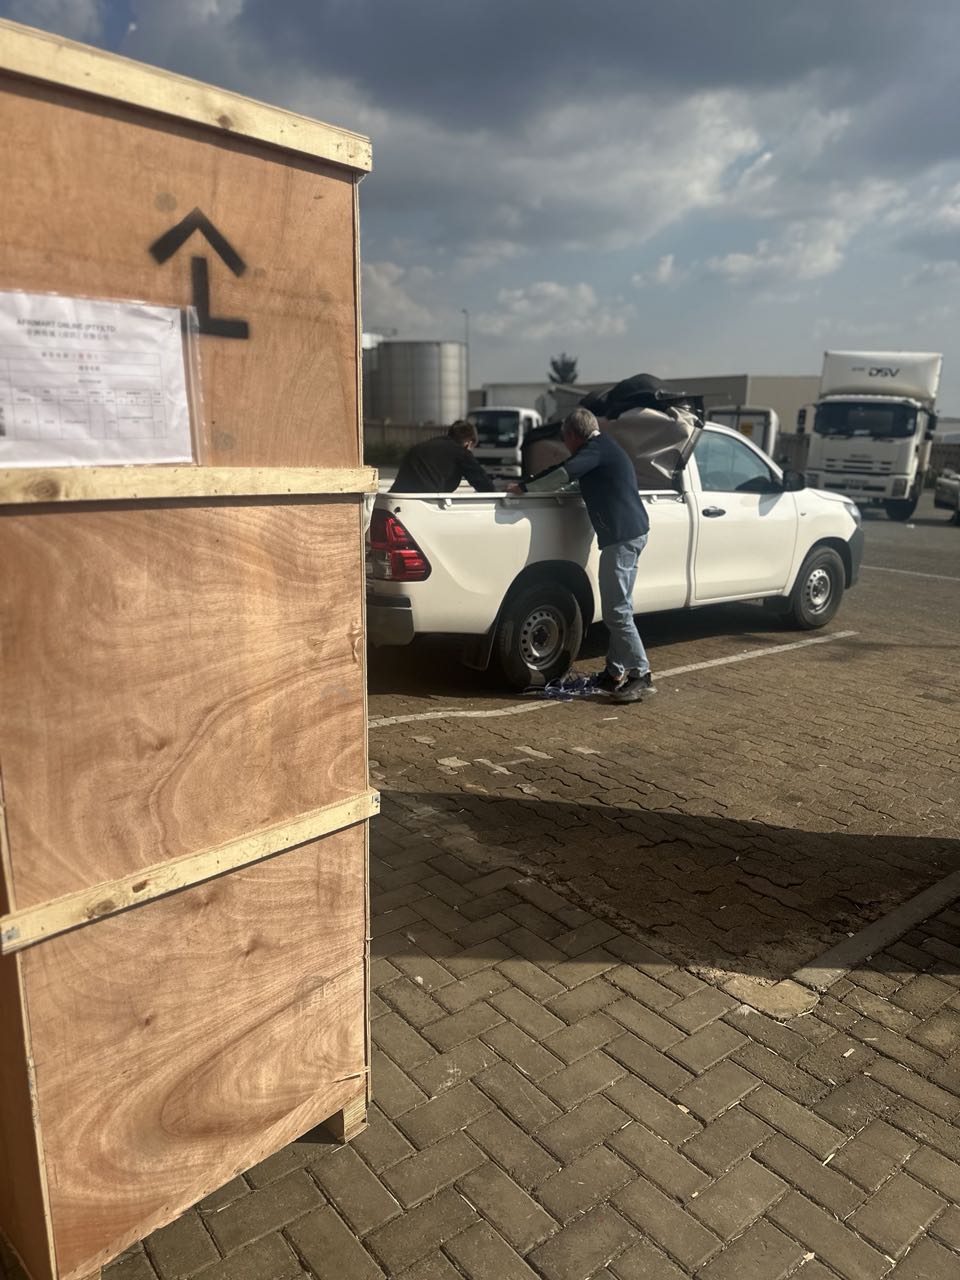
Pre Orders Offloading
Latest Arrivals
Latest Arrivals

Latest Arrivals
Loading
Toilet paper making machine
Toilet paper making machine
Toilet paper Rewinding Machine
latest arrivals

offloading
order success
order collection
order offloading