B21, China Town Mall, Midrand

Diagnostic Tool ZAPI Handheld Programmer FC2364

- Section : Sports & Entertainment
- Category : Vehicle Parts & Accessories
- SKU : 1600207898170

Products Description
| Technical details: | ||||
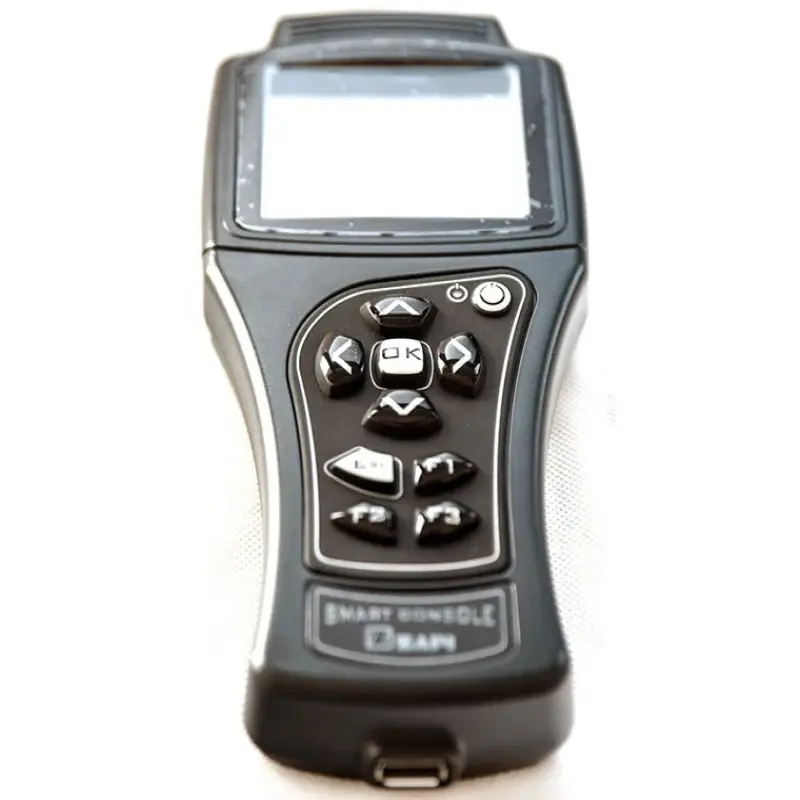
| * 3.2" TFT Color Display | ||||
| * ARM Cortex 32bit Microcontroller | ||||
| * Connection via CAN or serial line (compatibility mode) | ||||
| * Power supply from truck battery (24V to 80V) or from onboard | ||||
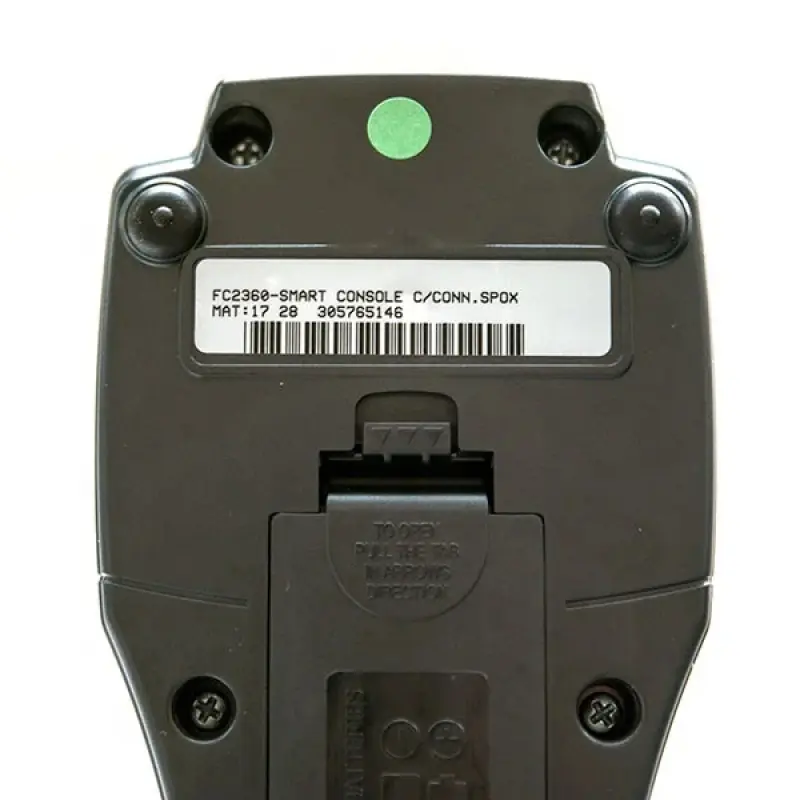
| * NiMh AA batteries | ||||
| * Improved Navigation and Tester Menu | ||||
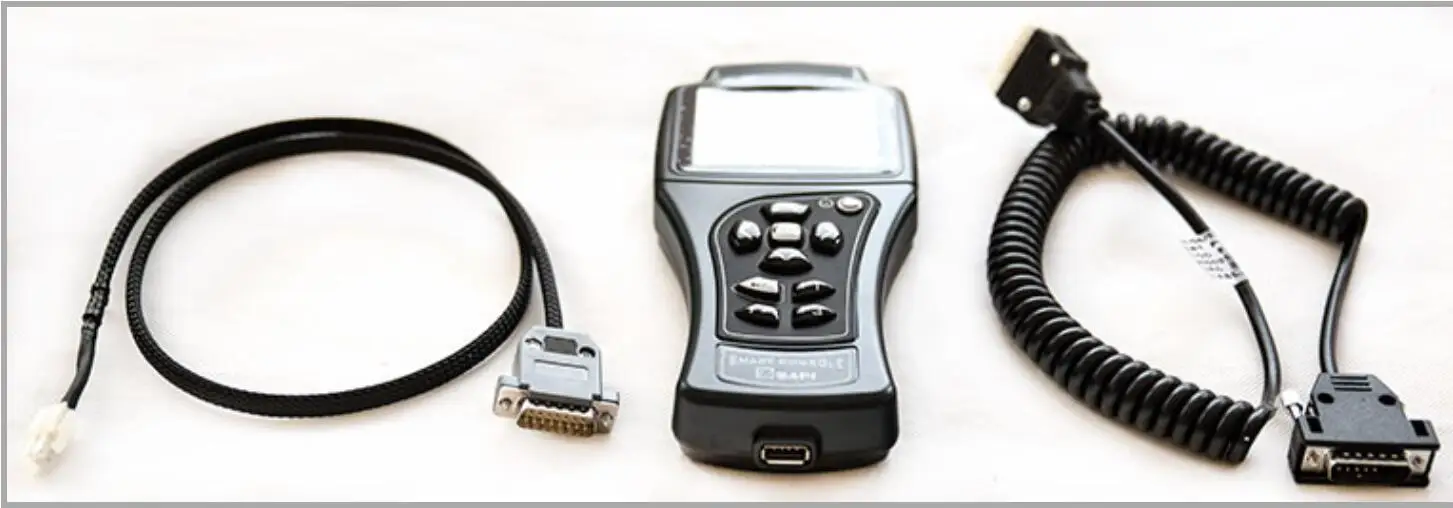
| * Interchangeable cable | ||||
| * 3 user programmable buttons | ||||
| * USB connection to flash drives | ||||
| * Dimension: 100x190x60 mm |
Man-machine interface details:
* Tester: real time display of the analogue and digital measurements in the controllers (battery voltage, motor voltage, motor current, temperature, potentiometer voltage, …)
* Programming Parameters: multilevel password protected access to the controllers parameters
* Save & Restore: possibility to save a set of parameters in an external memory in order to program multiple controllers with the same set in an automated way
* Alarms display: last 5 faults / warnings
* Advanced functions: CAN messages real time data-logging on USB for system analysis; real time data-logging of I/O values shown in the tester menu Sw download for firmware upgrade
How to connect a smart console to a controller / chopper (example: AC-2 inverter):
* Preparing the console: put 4 NiMh AA batteries into the battery chamber; choose the serial communication cable; link the cable's DB15 connector to its mating part on smart console.
* Connecting the smart console to controller (removing the rubber protection cover of controller's 8-Pin connector, and put the cable's serial communication connector to it).
* Preparing the DC source (voltage not higher than the rated voltage of controller), feeding power to the controller by linking the battery positive and negative to controller's B+ and B- terminals.
* Power on the smart console, then you'll see the initial interface (Home Screen) of console.
* Activating the controller: linking the DC source positive to the Pin number 1 of 12-Pin MOLEX connector.
* Choose the console menu "RS232 Console", press "OK" button, the smart console will start
to communicate with the controller.
When the communication is built successfully between smart console and the controller, the controller's model information appears.
* By pressing the "OK" button, you'll enter the controller's main menu. By choosing a sub-menu, you'll be able to modify the controller's parameters, diagnose the controller's status, check the controller's error, saving or restore the controller setting, etc.
- Shipping Timeframes: All orders are processed within 2-5 business days (excluding weekends and holidays). After your order has been processed, the estimated delivery time is before 06 Aug, 2026, depending on customs, Please note that due to high demand, some items may experience longer shipping times, which will be communicated at order confirmation email.
- Order Processing Time: Please allow 2-5 business days for us to process your order before it is shipped . Orders placed after 16:00 on Fridays, or during weekends and public holidays, will begin processing on the next business day. Processing times may be extended during peak seasons or sales events.
- Manufacturing Time: Some products needs manufacturing time, the manufacturing process will take approximately 10-30 business days depending on the product. This timeframe may vary depending on the complexity of the product and current demand. but this will be communicated with you during order confirmation.
- Returns and Exchanges: We offer a 30-day return policy for most items. If you are not completely satisfied with your purchase, you may return it within 30 days of receipt for a refund or exchange. Items must be unused, in their original packaging, and accompanied by proof of purchase. Return shipping costs are the responsibility of the customer, unless the item was damaged or defective upon arrival.
1. What are the main features of the Diagnostic Tool ZAPI Handheld Programmer FC2364?
The main features include a 3.2" TFT color display, ARM Cortex 32bit microcontroller, connection via CAN or serial line, power supply compatibility with truck batteries (24V to 80V) or NiMh AA batteries, and advanced testing and programming capabilities.
2. How do I connect the Diagnostic Tool to a controller?
To connect, insert 4 NiMh AA batteries into the tool, use the appropriate serial communication cable, and link it to the controller's connector. Ensure the DC source is prepared and power on the tool to start communication.
3. Can I save and restore controller parameters with this tool?
Yes, the Diagnostic Tool allows you to save a set of parameters in external memory and restore them later, making it easy to program multiple controllers with the same settings.
4. What types of measurements can the tool display?
The tool displays real-time analogue and digital measurements such as battery voltage, motor voltage, motor current, temperature, and potentiometer voltage.
5. Is the Diagnostic Tool compatible with different types of controllers?
Yes, it is designed to be compatible with various controllers, using a cable connection for communication.
6. What is the purpose of the user programmable buttons?
The three user programmable buttons allow you to customize frequently used functions for quicker access, enhancing the tool's usability.
7. How can I upgrade the firmware of the Diagnostic Tool?
Firmware upgrades can be performed via a USB connection to flash drives, allowing you to keep the tool updated with the latest features and improvements.
8. What are the dimensions of the Diagnostic Tool?
The tool's dimensions are 100mm x 190mm x 60mm, making it compact and portable for field use.
9. How does the tool display alarms and faults?
The Diagnostic Tool can display the last 5 faults or warnings, helping you to quickly identify issues and take corrective actions.
10. What type of power supply does the Diagnostic Tool use?
The tool can be powered from a truck battery (24V to 80V) or from onboard NiMh AA batteries, providing flexibility for different working conditions.
11. How do I perform real-time data logging?
Real-time data logging of I/O values can be done directly on the USB drive, allowing for detailed system analysis and review of performance metrics.
12. What is the process to activate the controller using the tool?
To activate the controller, link the DC source positive to Pin number 1 of the 12-Pin MOLEX connector after powering on the smart console.
13. Can I use the tool without external power?
Yes, you can use the tool with onboard NiMh AA batteries, making it versatile for use in different environments.
14. What is the significance of the multilevel password protection?
The multilevel password protection ensures that only authorized users can access and modify the controller's parameters, enhancing security during programming.
15. Is there a user manual available for the Diagnostic Tool?
Yes, a user manual is typically included with the tool, providing detailed instructions on operation, troubleshooting, and features.
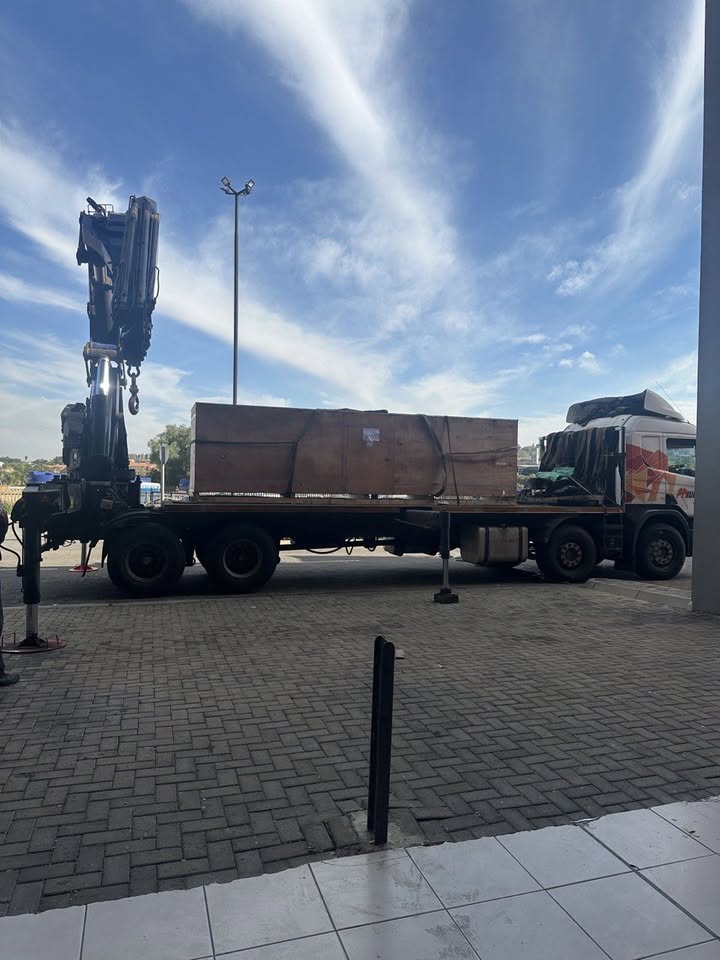
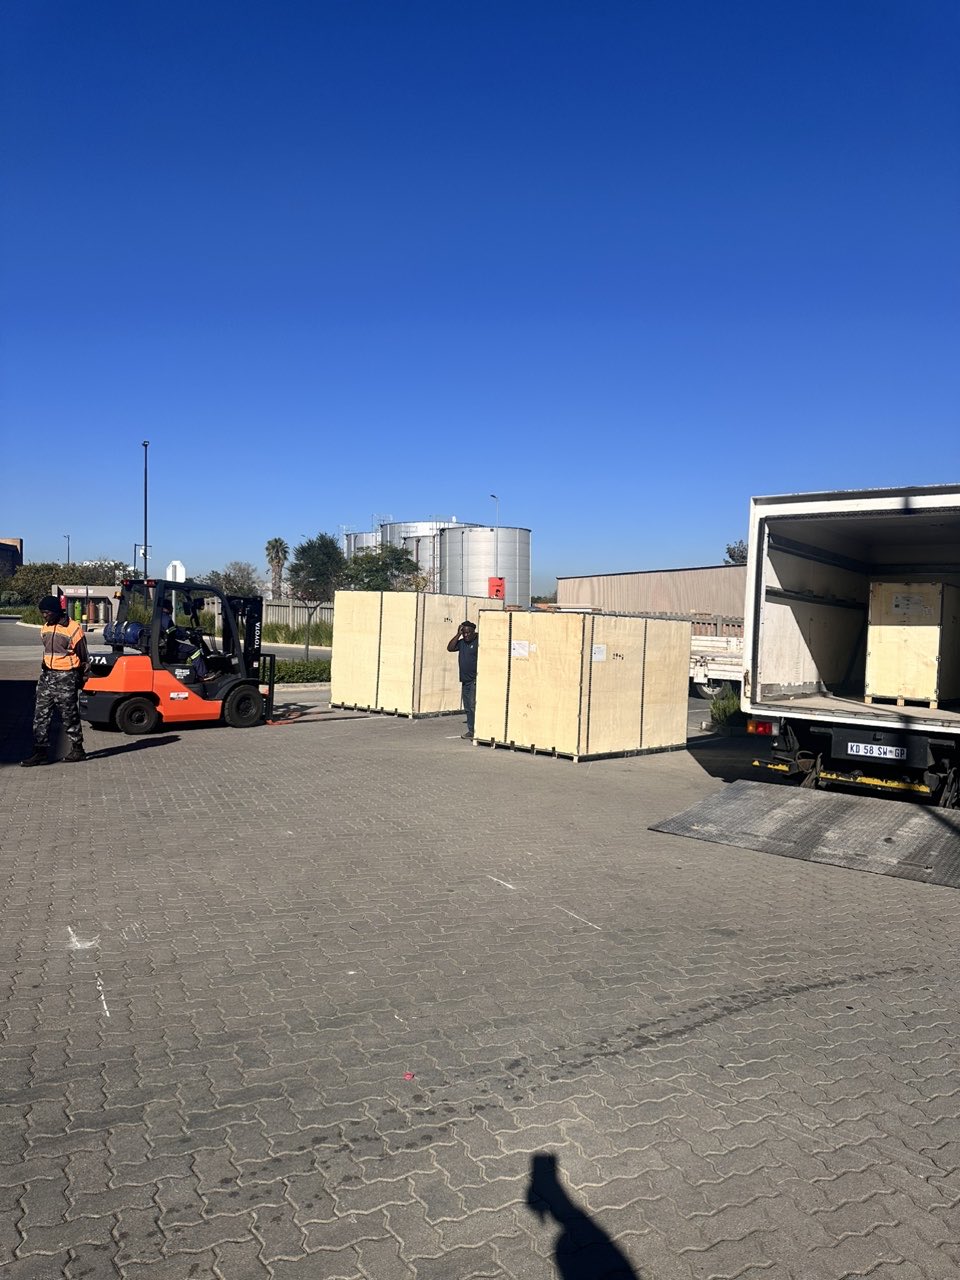
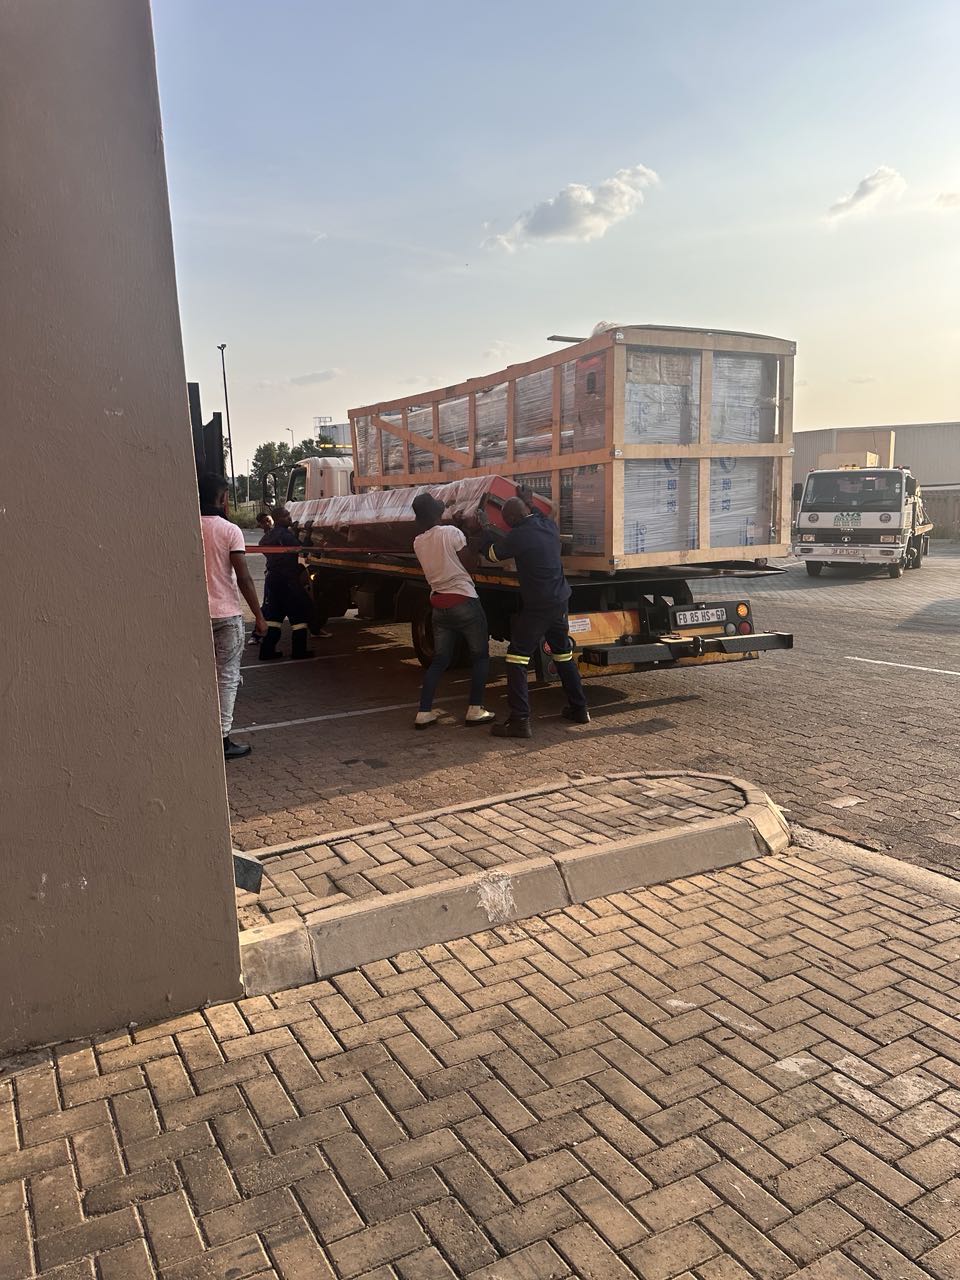
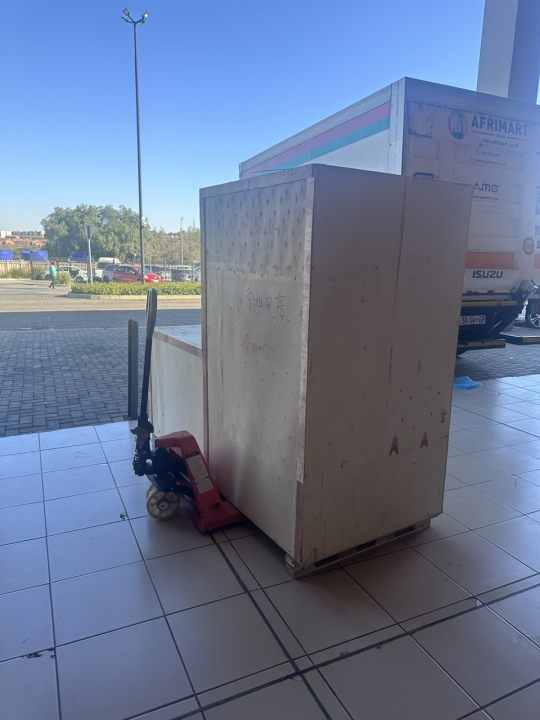
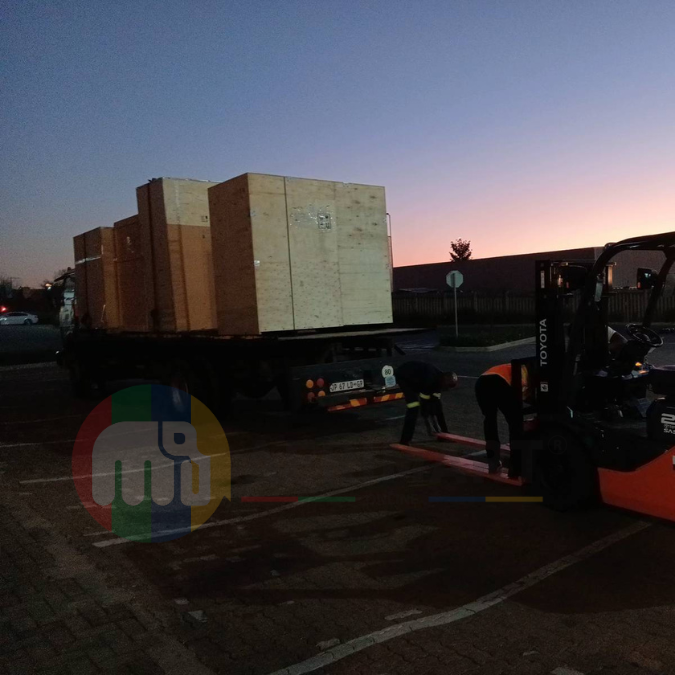
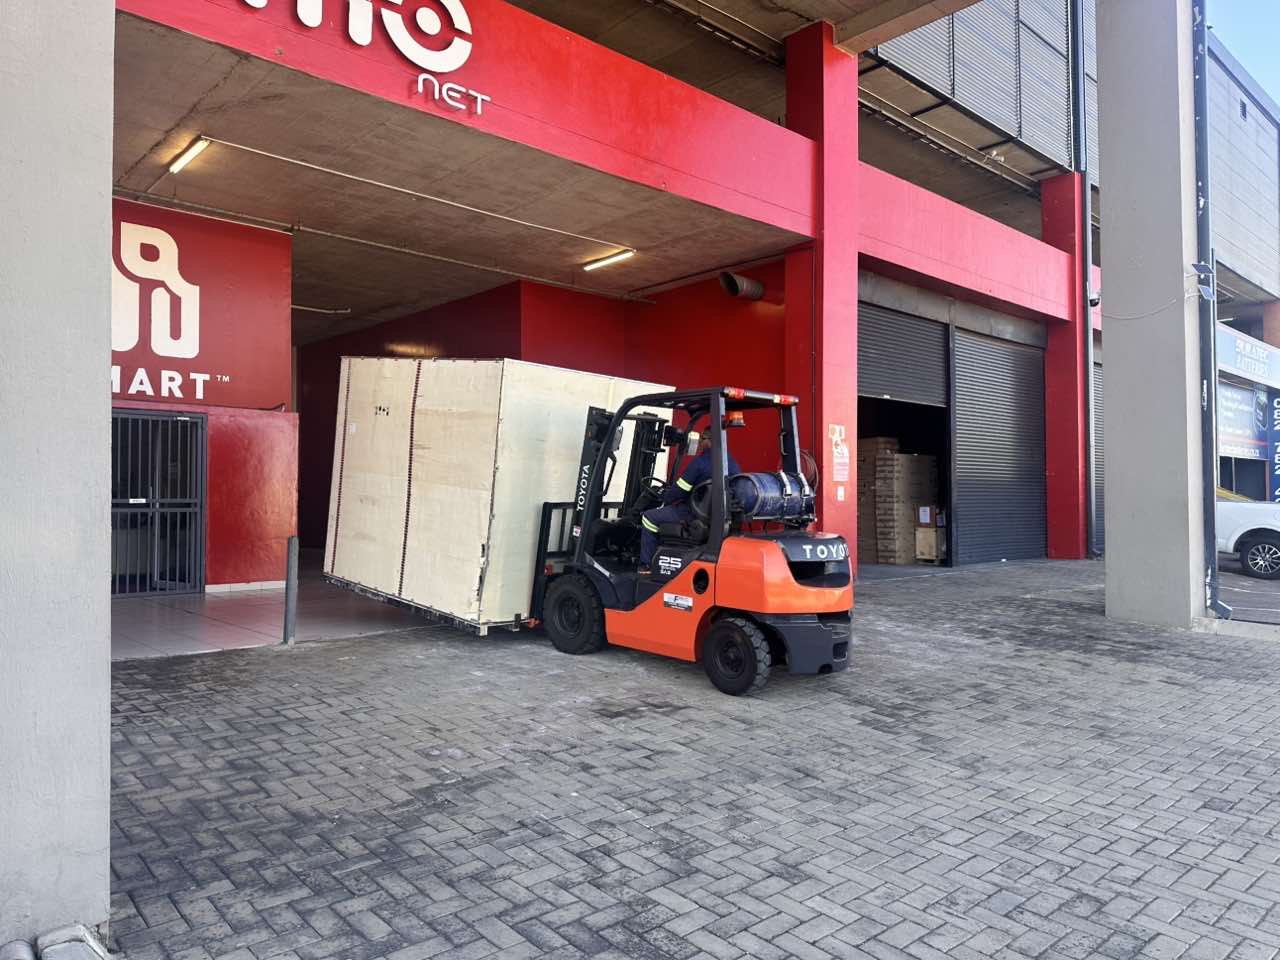
Latest Order Arrivals
Discover our latest orders
12 Heads Embroidery Machine
Toilet Paper Machine Machine

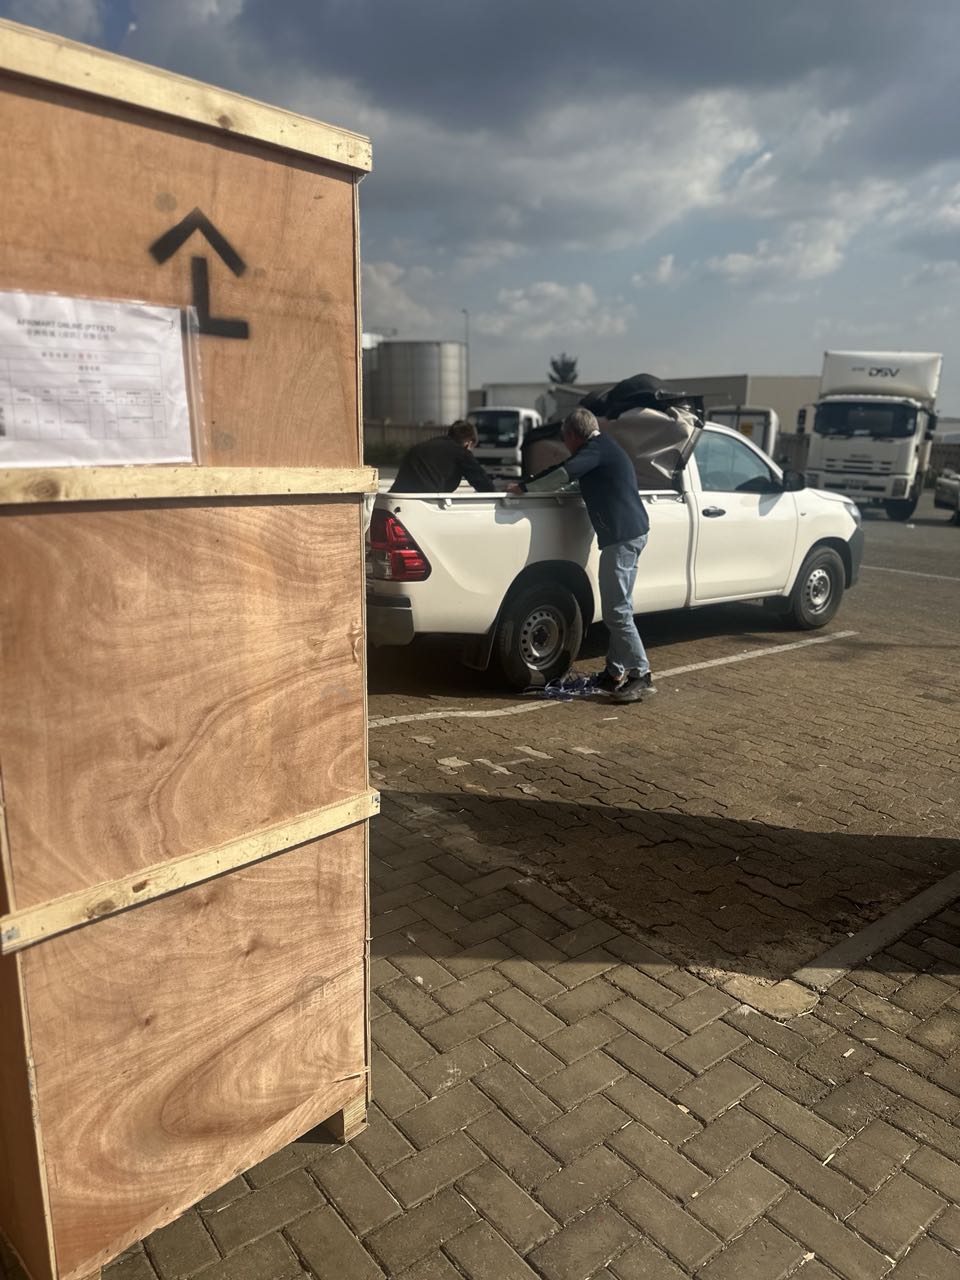
Order Collection
Cross Border Clients
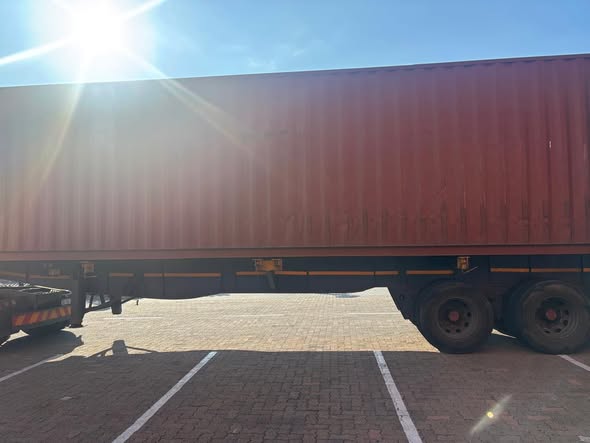
Order cros border countries Collected
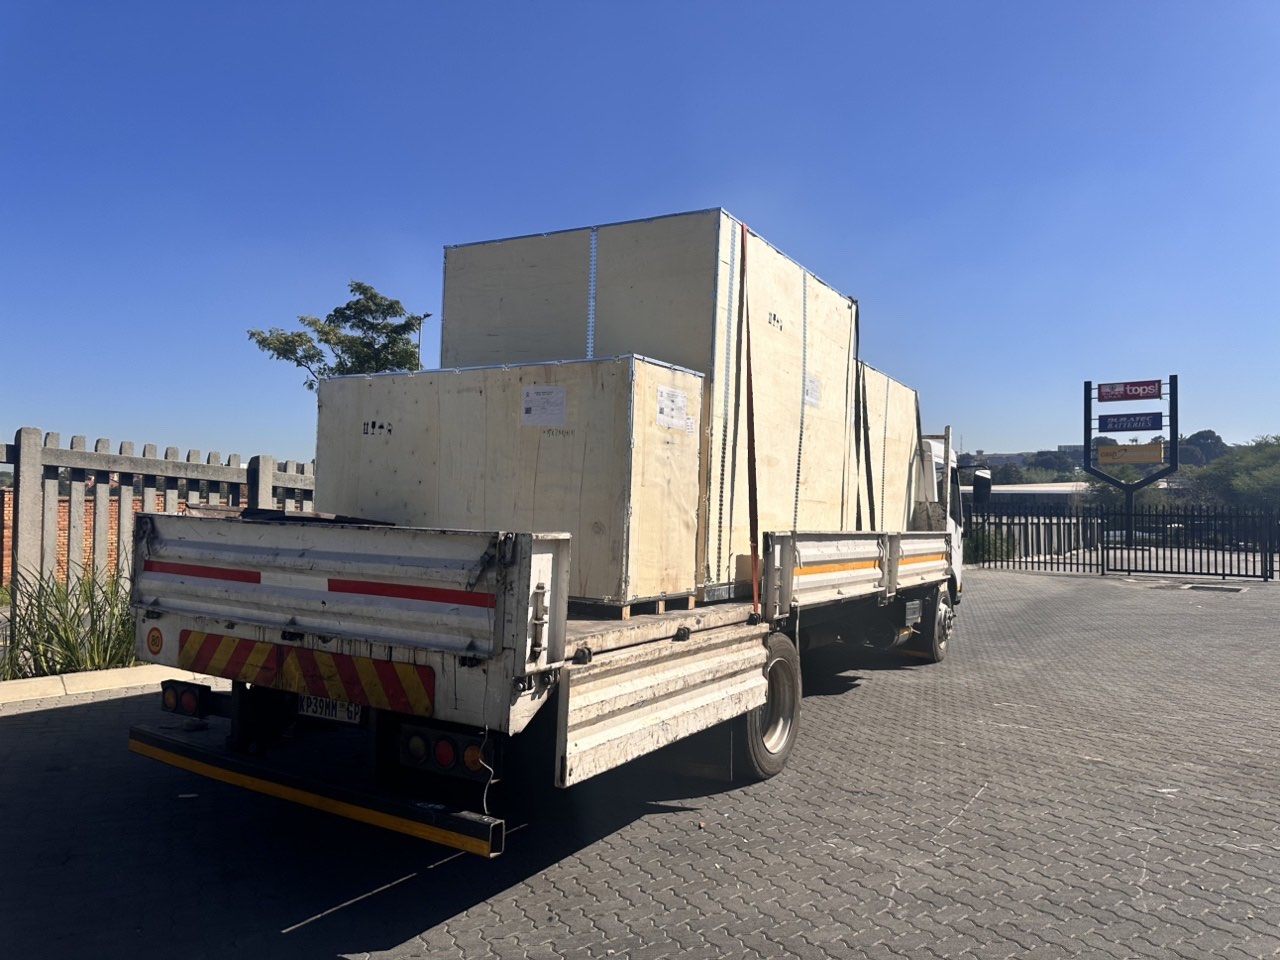
Industrial Machine Cllection
Agriculture Processing Machines

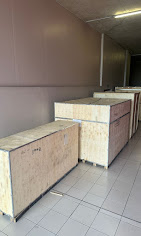
Ready for collection

Water Pump Equipment
Packaging Machine and accessories
Fabrics Manufacturing Equipment
Mining Equipments
Food Processing Machine
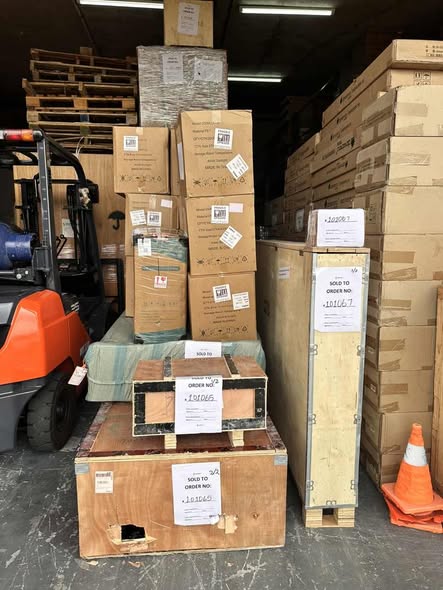
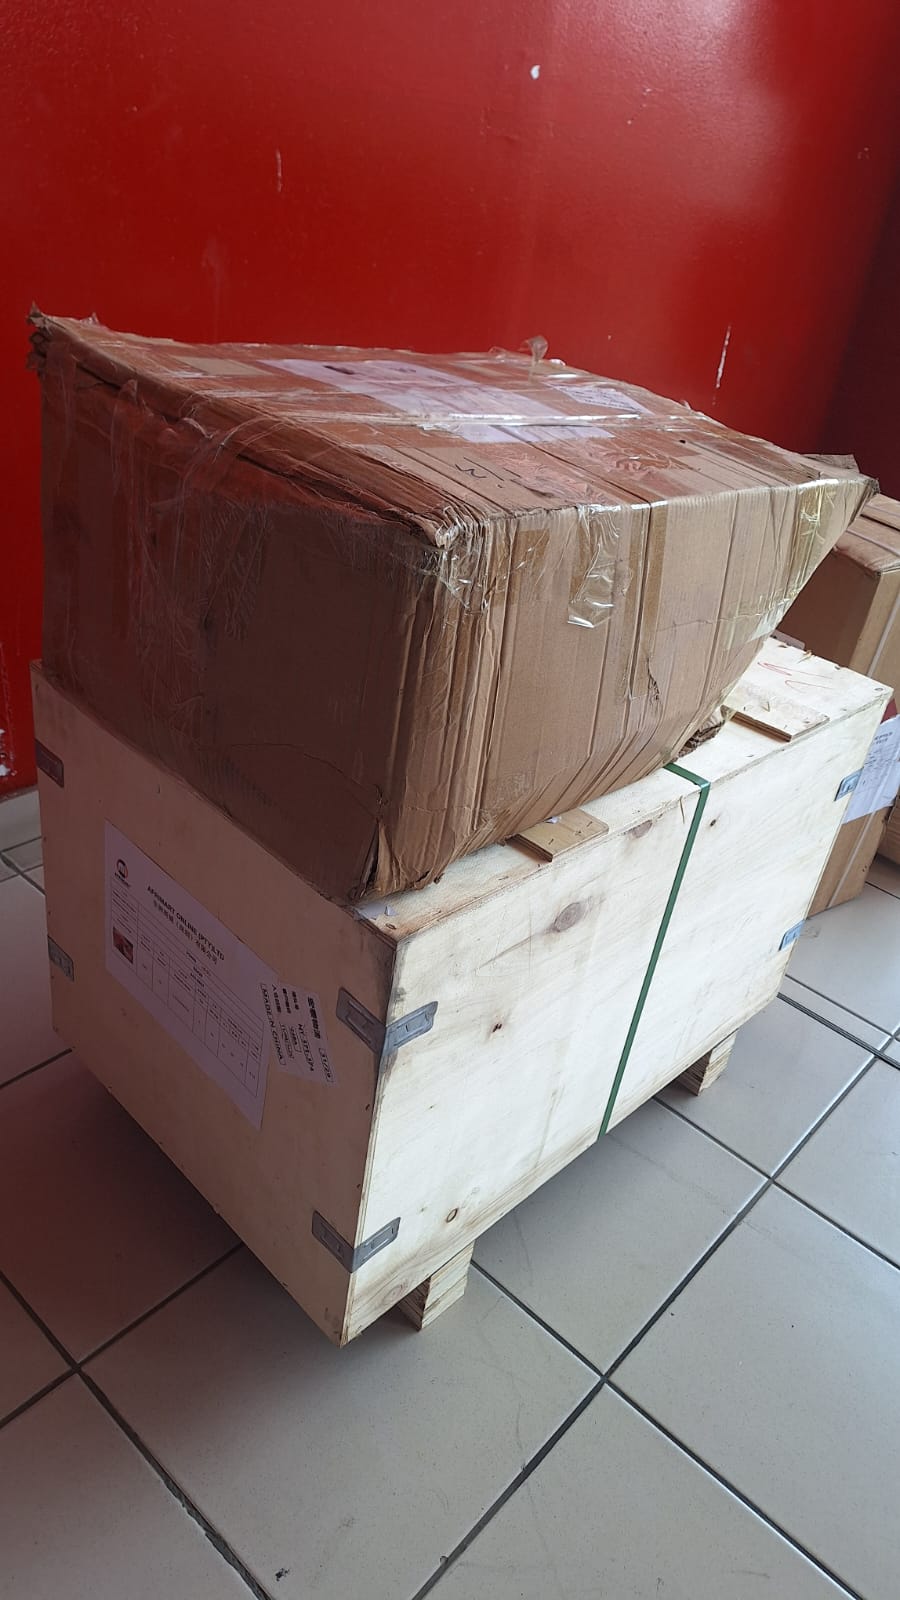
Batch of Orders
Batch of Orders

Latest Orders Labelled
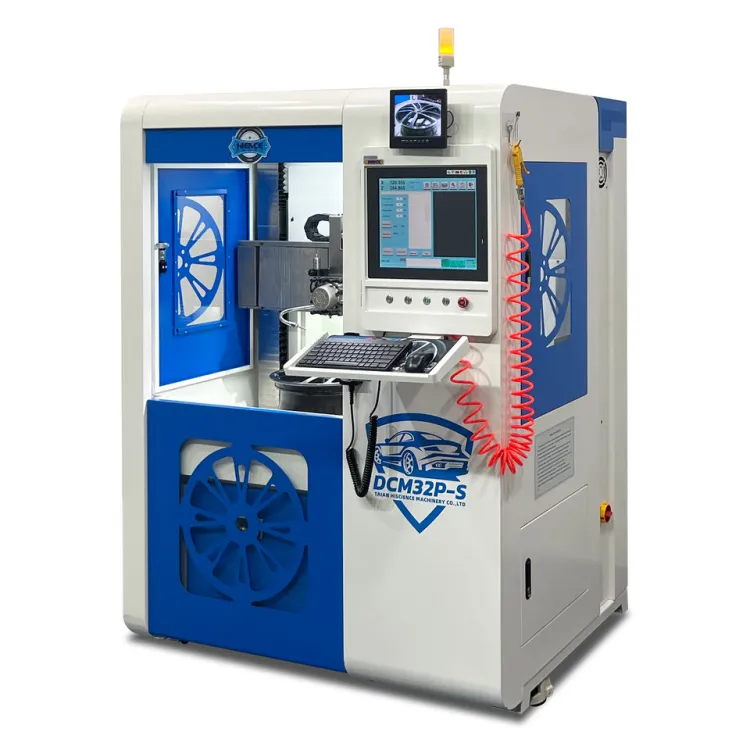
wheel alignment machines
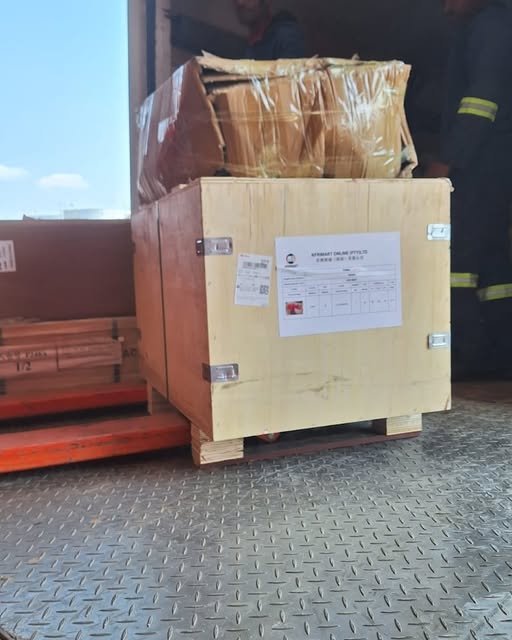
new arrivals

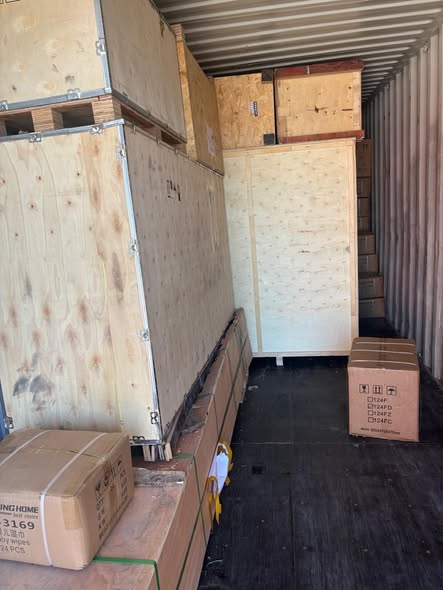
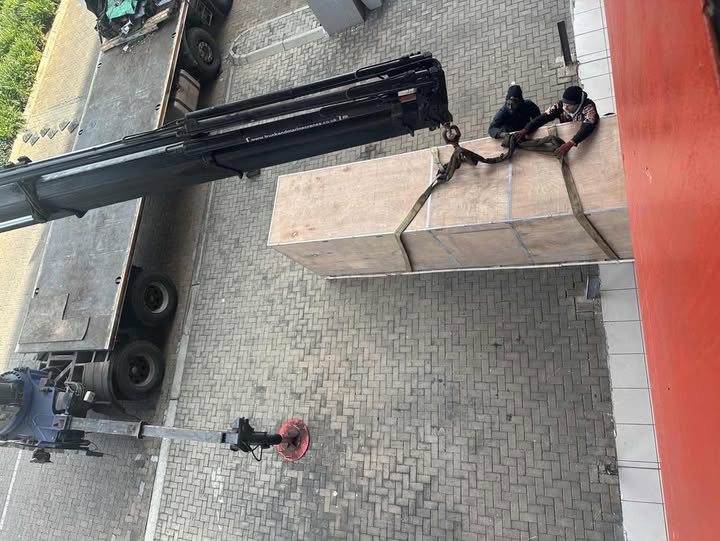
Pre Orders Offloading
Latest Arrivals
Latest Arrivals

Latest Arrivals
Loading
Toilet paper making machine
Toilet paper making machine
Toilet paper Rewinding Machine
latest arrivals

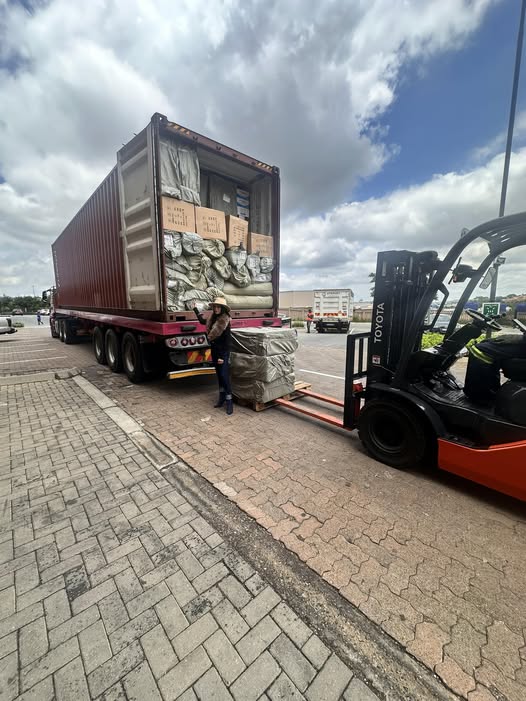
offloading
order success
order collection
order offloading